
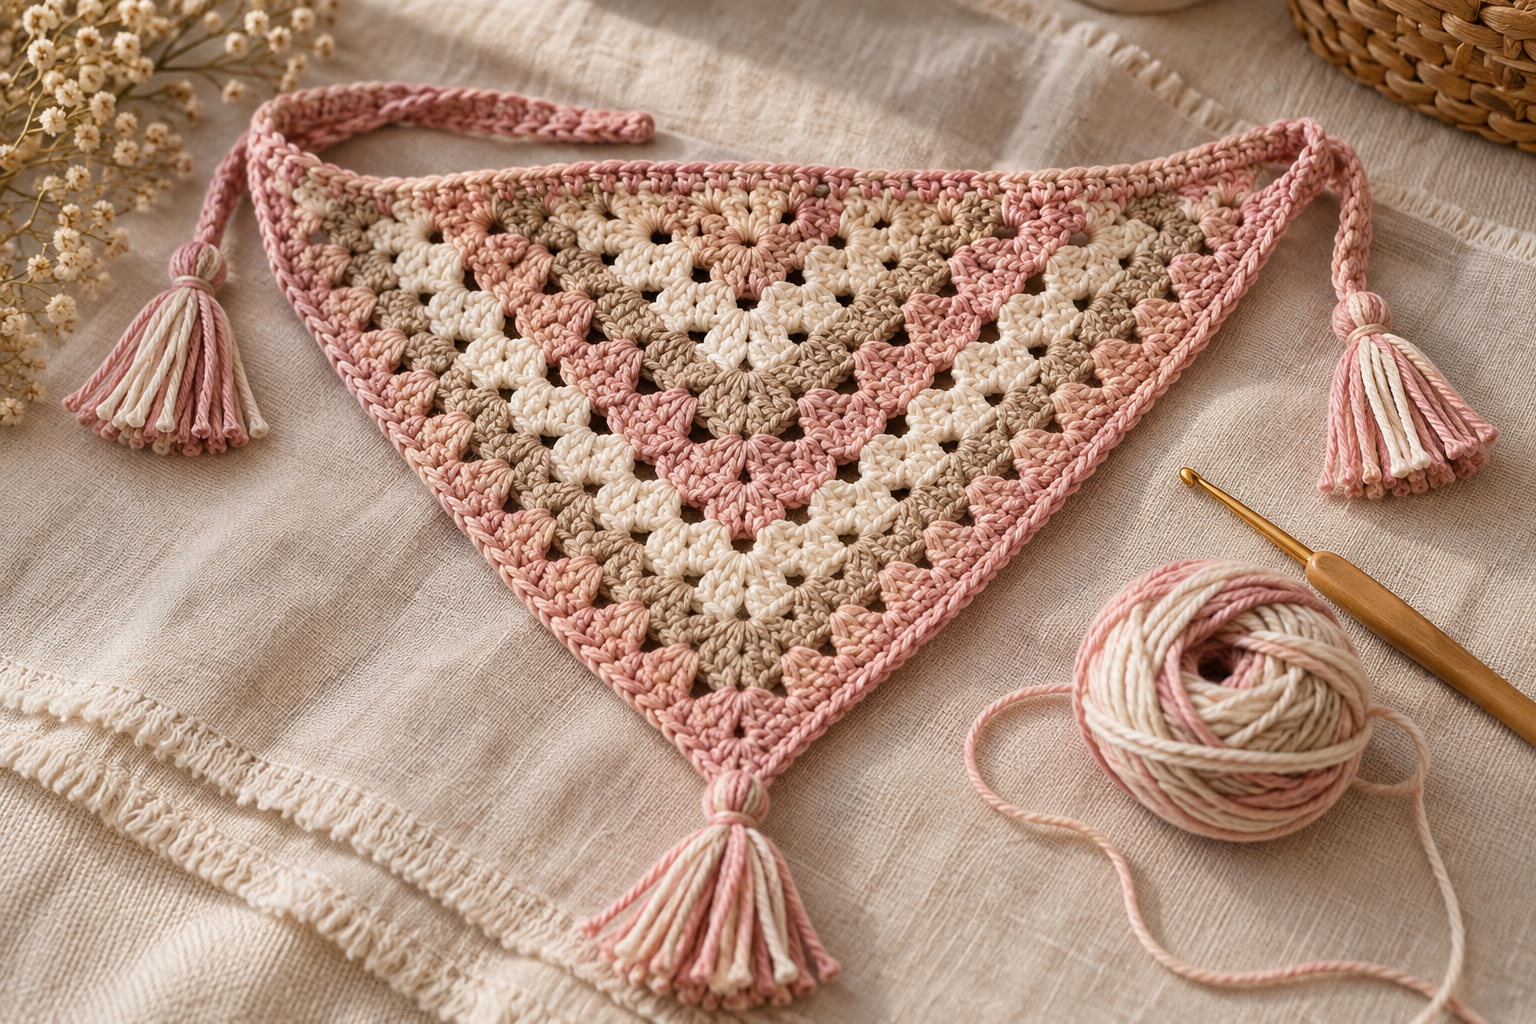
A crochet bandana is one of those small handmade projects that can completely change an outfit while using surprisingly little yarn. This granny square triangle bandana combines the classic granny-stitch texture with a triangular shape, making it an easy project for beginners and a fun one for experienced crocheters who want to experiment with colors.
The design can be worn around the neck, tied over the hair, styled as a headband, or even used as a decorative accessory on a bag. With a few simple modifications, you can also make it smaller or larger, change the number of granny rounds, or create a completely different color palette.
Why You’ll Love This Crochet Bandana
This pattern is especially useful if you’re looking for a project that is:
- Beginner-friendly
- Quick to crochet
- Easy to customize
- Suitable for small amounts of yarn
- Great for practicing granny stitches
- Easy to make in different sizes
- Perfect for handmade gifts
- Suitable for spring, summer, fall, and transitional weather
The triangular construction also means that you don’t need complicated shaping techniques. The basic idea is to build a triangle gradually with granny-stitch clusters and increase the size until the bandana reaches the measurement you want.
Crochet Bandana Pattern at a Glance
| Feature | Details |
|---|---|
| Project type | Triangle crochet bandana |
| Shape | Triangle |
| Skill level | Beginner |
| Construction | Worked from the top center downward |
| Main stitch | Granny stitch |
| Yarn | Lightweight worsted or DK yarn |
| Suggested hook | 4.0–5.0 mm |
| Approximate finished size | 18–24 in wide |
| Customizable | Yes |
| Sewing required | Minimal |
| Recommended for | Teens and adults |
Important: Crochet tension varies from person to person. The measurements below are a flexible starting point rather than a fixed sizing requirement.
Materials You’ll Need
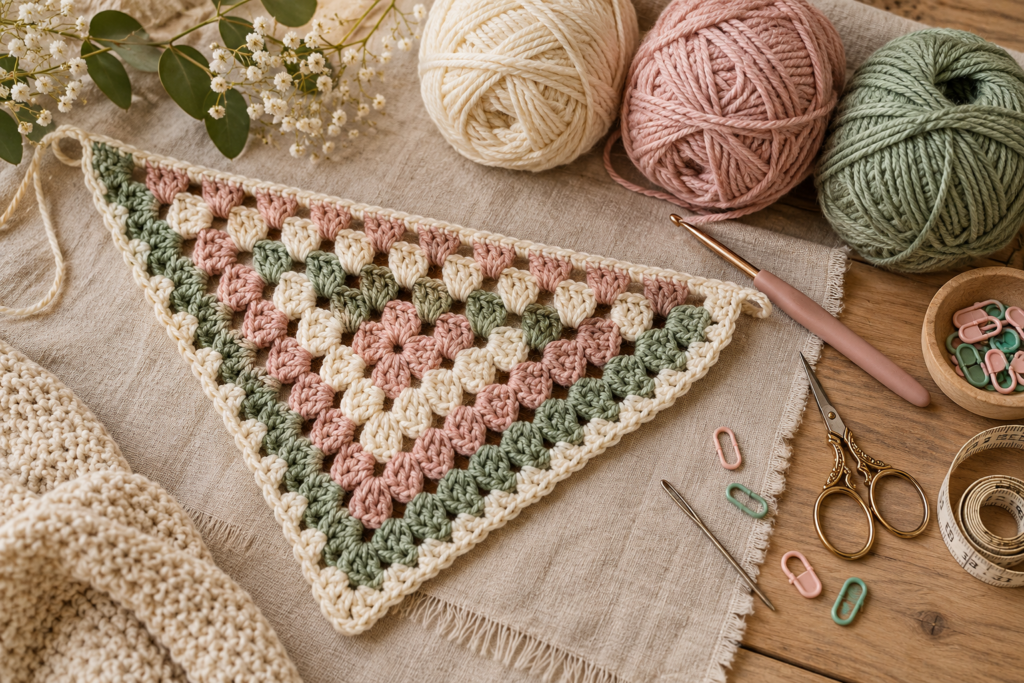
Yarn
For a soft everyday bandana, choose a lightweight yarn such as:
- DK weight yarn
- Light worsted yarn
- Cotton yarn
- Cotton-acrylic blend
- Soft acrylic yarn
Cotton is particularly useful for warmer weather because it creates a breathable fabric with good stitch definition.
For a classic adult bandana, approximately 50–100 g of yarn is generally enough, depending on the yarn weight, hook size, number of rounds, and desired finished size.
Crochet Hook
Start with a:
4.0 mm or 4.5 mm crochet hook
If your stitches are very tight, move up to a 5.0 mm hook.
If your fabric feels too loose and floppy, try a smaller hook.
Other Supplies
You’ll also need:
- Yarn needle
- Scissors
- Measuring tape
- Stitch marker, optional
- Blocking pins, optional
Crochet Abbreviations
| Abbreviation | Meaning |
|---|---|
| ch | Chain |
| sl st | Slip stitch |
| sc | Single crochet |
| dc | Double crochet |
| st | Stitch |
| sp | Space |
| ch-sp | Chain space |
| rep | Repeat |
| sk | Skip |
| rnd | Round |
This pattern uses US crochet terminology.
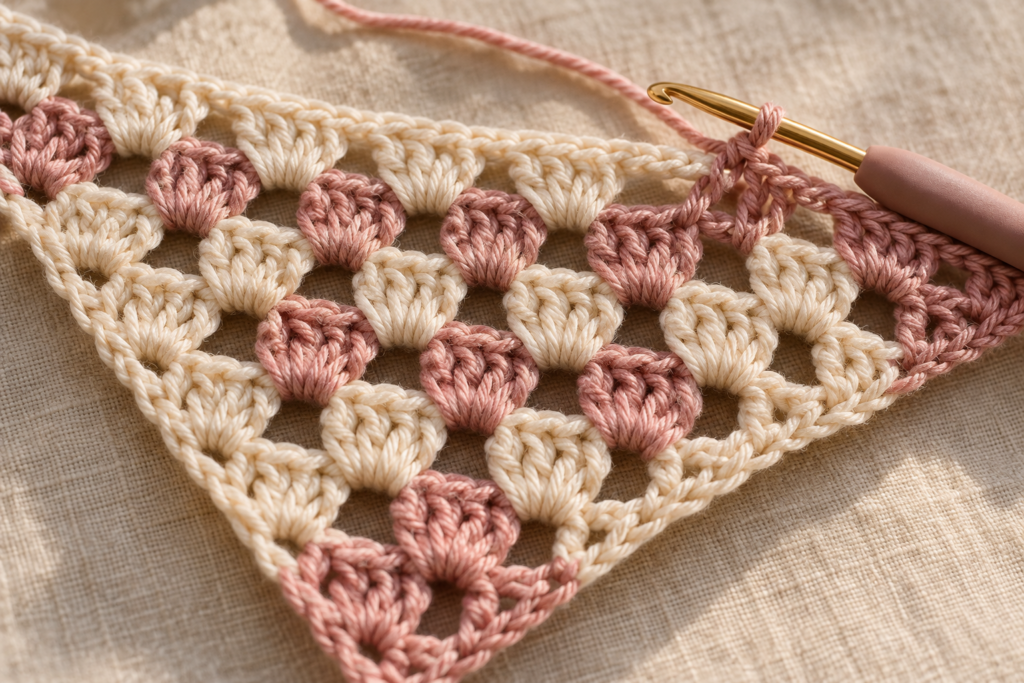
Understanding the Granny Stitch
The main texture comes from the traditional granny cluster.
A granny cluster consists of:
3 double crochet stitches worked into the same space.
Written as:
3 dc in the same space
The chain spaces between clusters create the open, textured appearance associated with classic granny crochet.
Once you understand this simple repeat, most of the project becomes very predictable.
How to Crochet the Triangle Bandana
Step 1: Create the Starting Chain
Begin with your chosen yarn color.
Make:
ch 4
Join with a slip stitch to the first chain to form a small ring.
Alternatively, if you prefer working into a magic ring, you can use that method instead.
The magic-ring method produces a tighter center, while the chain-ring method is easier for some beginners.
Step 2: Create the First Granny Cluster
Chain 3.
The starting chain 3 counts as your first double crochet.
Work:
2 dc into the ring
Then chain 2.
Work another granny cluster:
3 dc into the ring
Chain 2.
Work the final granny cluster:
3 dc into the ring
Chain 2.
Join to the top of the beginning chain 3 with a slip stitch.
You should now have a small triangular foundation.
Fasten off if you’re changing colors.
Step 3: Begin the Second Round
Attach your next color at one of the corner spaces.
Chain 3.
Work 2 dc into the same corner space.
Chain 2.
Work another 3-dc cluster into the same corner space.
You have now created a corner increase.
Move to the next chain-2 space.
Work:
3 dc, ch 2, 3 dc
Repeat for the remaining corner.
Join with a slip stitch.
At the end of this round, your triangle should already be more visible.
Step 4: Continue Building the Triangle
The basic principle for every following round is:
Corners receive two granny clusters separated by a chain-2 space.
Along the edges, work:
3 dc into each available chain space.
At every corner, work:
3 dc, ch 2, 3 dc
This is what creates the triangular shape.
Basic Round Formula
For each round:
Corner:
3 dc, ch 2, 3 dc
Side space:
3 dc
Repeat around the triangle.
Step 5: Keep Your Edges Even
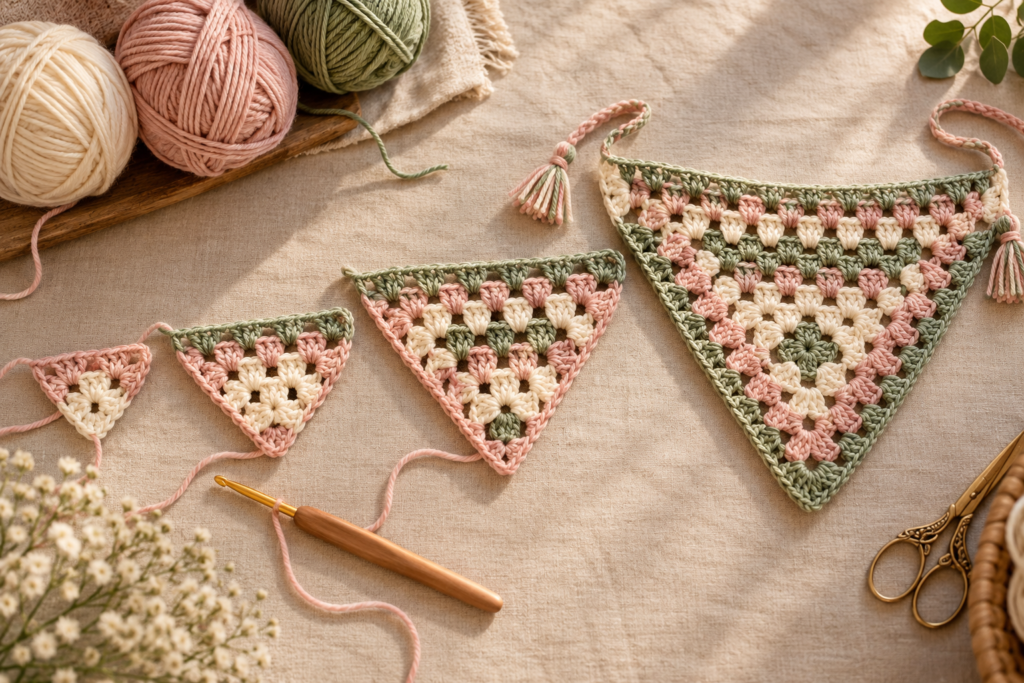
As the bandana grows, pay attention to the three corner spaces.
These are the most important spaces in the pattern.
Every corner should receive the same increase.
If one corner is accidentally skipped, the bandana can start to twist or lose its triangular shape.
A useful habit is to place a stitch marker in each corner chain-2 space.
That makes the increases much easier to identify.
Color-Change Version
One of the nicest features of a granny-style bandana is how easily you can introduce color.
You can create:
Two-Color Bandana
Use one color for the center and another for the outer rounds.
For example:
- Cream center
- Blush pink middle
- Cream border
Three-Color Bandana
Try:
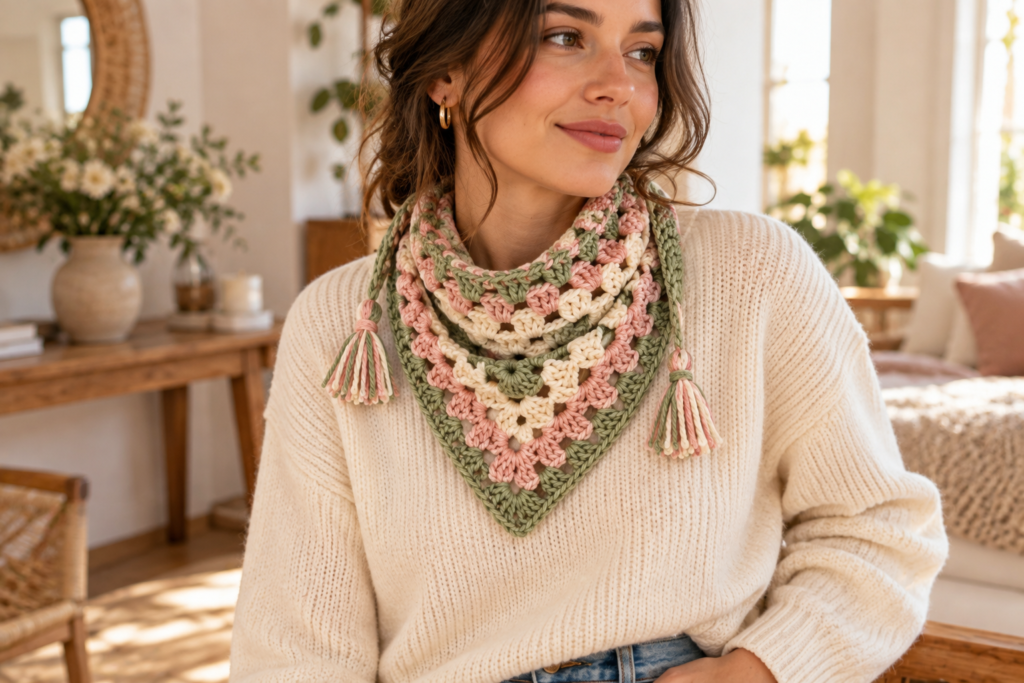
- Sage green
- Cream
- Dusty pink
This creates a soft vintage look.
Rainbow Version
Use a different color for every round.
This works especially well if you have leftover yarn.
Neutral Version
For a minimalist accessory, try:
- Beige
- Oatmeal
- Taupe
- Cream
The granny texture becomes the main decorative feature.
How to Change Colors Cleanly
When you’re ready to change colors, complete the final double crochet of the round but stop before pulling through the final loops.
Use the new color to complete the final pull-through.
Then continue with the new yarn.
This creates a cleaner color transition.
After several rounds, weave the loose ends securely into the back of the fabric using a yarn needle.
Continue Until You Reach Your Desired Size
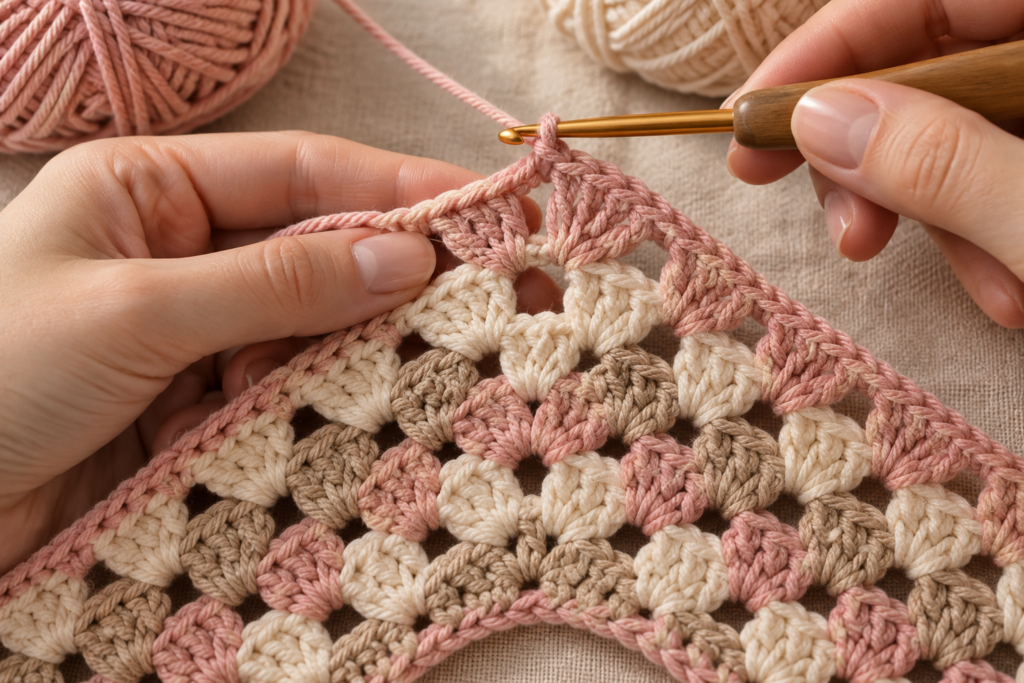
There isn’t one mandatory number of rounds for this bandana.
Instead, measure the project as you go.
For a small neck scarf, you might stop after approximately 8–10 rounds.
For a larger adult bandana, continue for approximately 12–18 rounds depending on yarn weight and hook size.
Suggested Finished Sizes
| Style | Approximate Width | Approximate Depth |
|---|---|---|
| Small | 16–18 in | 8–9 in |
| Medium | 19–21 in | 9–10.5 in |
| Large | 22–24 in | 11–12 in |
| Oversized | 25+ in | 12+ in |
These measurements are approximate because crochet tension can significantly change the final dimensions.
Adding the Border
A simple border can make the bandana look much more polished.
Once you’ve reached your desired size, don’t fasten off immediately.
Instead, work around the outer edges.
Option 1: Simple Single Crochet Border
Work one round of single crochet around the entire triangle.
At each corner, work:
2 sc, ch 1, 2 sc
This helps maintain the point without pulling the fabric inward.
Join with a slip stitch.
Fasten off and weave in the ends.
Option 2: Scalloped Border
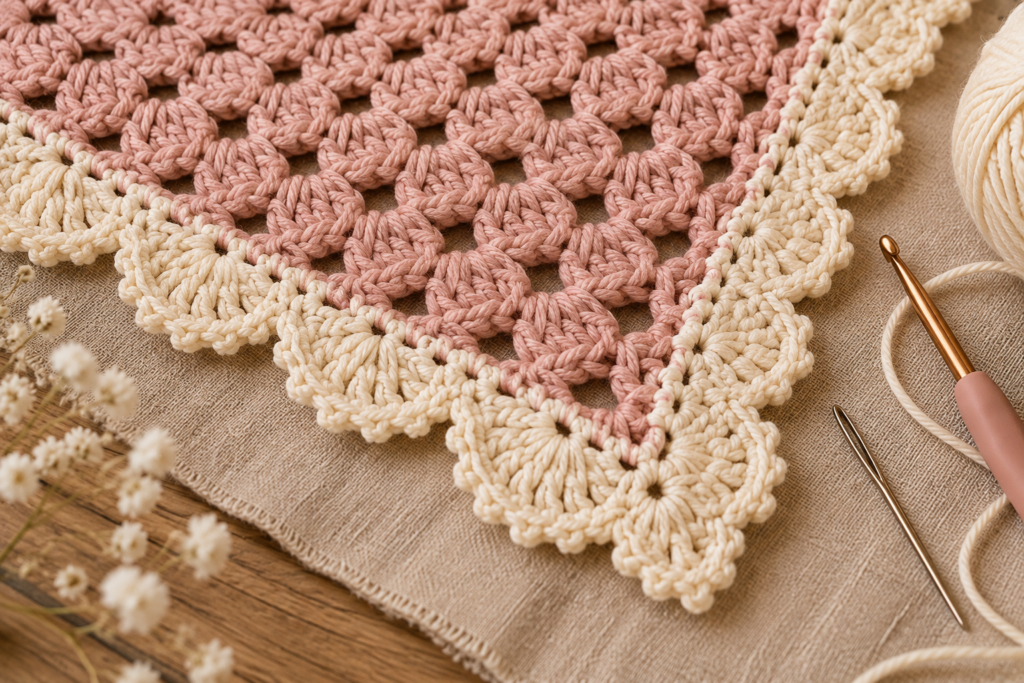
For a more decorative finish, try a scalloped edge.
A simple version is:
skip 1 stitch, 5 dc in the next stitch, skip 1 stitch, sl st in the next stitch
Repeat along the edge.
This creates small shell-like scallops.
Option 3: Picot Border
For a delicate, feminine finish:
Work single crochet around the edge.
Every few stitches, create a picot:
sc, ch 3, sl st into the first chain
Continue around the bandana.
This gives the edge a slightly lace-like appearance.
Adding Ties
Although the triangular bandana can be tied using its existing corners, you can also add dedicated ties.
At each upper corner, attach yarn.
Chain approximately:
25–40 chains
depending on how much length you need.
Turn and slip stitch or single crochet back along the chain.
Fasten off.
Repeat on the opposite side.
Tie Length Guide
| Fit | Approximate Tie Length |
|---|---|
| Short tie | 20–25 chains |
| Medium tie | 25–35 chains |
| Long tie | 35–45 chains |
Always test the bandana around your intended wearing position before cutting the yarn.
Optional Tassels
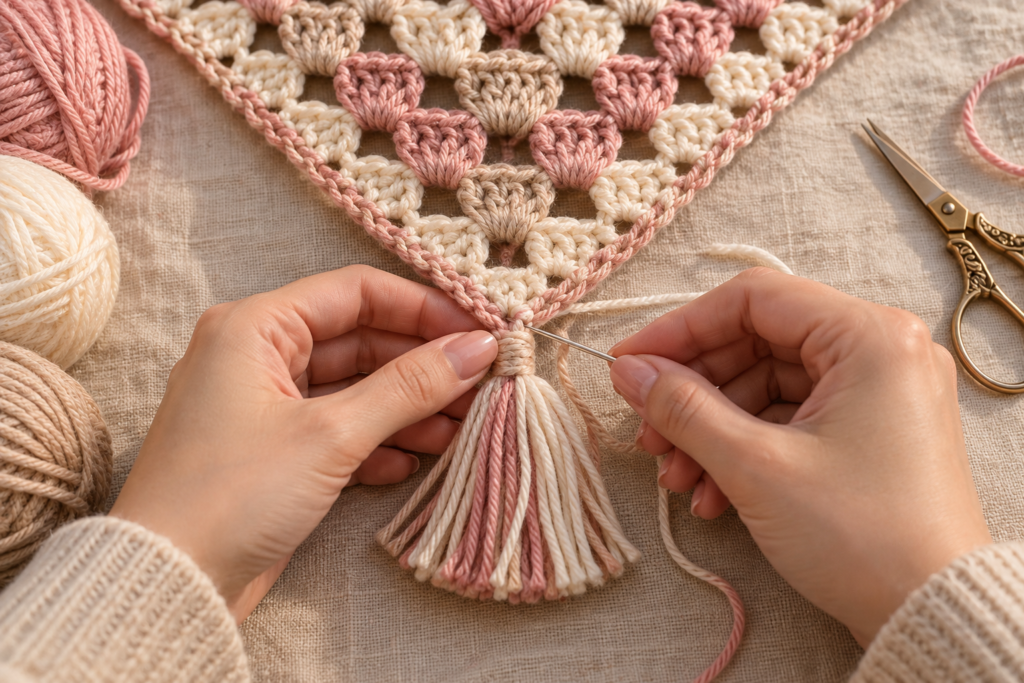
Tassels are an easy way to make the bandana look more decorative.
You can add them to the three corners or only to the two tying corners.
How to Make a Tassel
Wrap yarn around your fingers or a small piece of cardboard approximately 15–25 times.
Remove the bundle carefully.
Tie another piece of yarn tightly around the top.
Cut through the bottom loops.
Trim the ends evenly.
Attach the tassel to the corner of the bandana.
For a cleaner finish, wrap yarn several times around the top of the tassel to create a small neck.
How to Make a Larger Bandana
If you want a larger scarf-style bandana, simply continue adding granny rounds.
The pattern does not need to change.
Every additional round increases the width and depth of the triangle.
For a dramatic oversized accessory, use a slightly larger crochet hook and continue until the triangle reaches your preferred measurements.
How to Make a Smaller Bandana
For children or smaller head sizes:
- Use DK or sport-weight yarn
- Use a smaller hook
- Stop after fewer rounds
- Shorten the ties
Always measure the finished piece instead of relying solely on round numbers.
Beginner-Friendly Construction Guide
If you’re completely new to granny crochet, think about the pattern this way:
Corners = increases
Side spaces = 3-double-crochet clusters
Chain spaces = places where the next cluster goes
That’s the entire concept.
Once you recognize those three elements, you can continue the pattern without memorizing a complicated sequence.
Common Mistakes and How to Fix Them
The Triangle Is Curving
This usually happens when the corner increases aren’t being worked consistently.
Check that each corner contains:
3 dc, ch 2, 3 dc
If one corner is missing a cluster, the shape can become distorted.
The Fabric Looks Too Stiff
Your hook may be too small for your yarn.
Try moving up by 0.5–1 mm.
A bandana should have enough drape to sit comfortably around the neck or head.
The Fabric Looks Too Loose
Try a smaller hook.
You can also experiment with a slightly heavier yarn.
The Edges Are Wavy
Some waviness can happen naturally with granny crochet.
However, excessive waves may indicate that you’re adding stitches in the wrong spaces.
Check that side spaces receive only one cluster and corners receive the increases.
The Triangle Won’t Lie Flat
Check your tension and corner placement.
If the piece is slightly uneven, blocking can help.
Blocking the Finished Bandana
Blocking is optional, but it can dramatically improve the appearance of a crochet accessory.
Lightly dampen the finished bandana.
Place it on a clean towel or blocking mat.
Gently stretch the three corners until the triangle looks symmetrical.
Secure the corners with blocking pins.
Allow the piece to dry completely.
Remove the pins carefully.
Blocking can make the granny clusters appear more defined and help straighten the edges.
Easy Customization Ideas
Once you’ve mastered the basic version, there are many ways to make the design your own.
Add a Contrast Border
Crochet the entire bandana in cream and finish with a mustard, sage, rust, or dusty-pink border.
Make a Vintage Version
Try:
- Dusty rose
- Lavender
- Cream
- Sage
Use a scalloped border for an old-fashioned handmade look.
Make a Modern Minimalist Version
Choose one neutral color and skip the decorative border.
Cream, black, taupe, and charcoal all work beautifully.
Add Stripes
Change color every one or two rounds.
For example:
Round 1–2: Cream
Round 3–4: Sage
Round 5–6: Cream
Round 7–8: Rust
Continue the sequence until you reach your desired size.
Bandana Styling Ideas
This crochet accessory isn’t limited to one styling method.
Around the Neck
Fold the triangle slightly and tie the two upper corners behind your neck.
This creates a classic neckerchief look.
Over the Hair
Place the long edge across the top of your head.
Tie the two corners underneath your hair or beneath your chin.
Headband Style
Fold the triangle into a long strip.
Wrap it around your head and tie it at the back.
Bag Accessory
Tie the bandana around the handle of a handbag or tote.
This is especially effective with colorful granny-square-inspired designs.
Wrist Accessory
Fold the bandana into a narrow strip and tie it loosely around your wrist.
Yarn Color Combinations
| Style | Main Color | Secondary Color | Border |
|---|---|---|---|
| Soft Cottage | Cream | Blush | Sage |
| Autumn | Rust | Cream | Brown |
| Garden | Sage | Cream | Dusty Pink |
| Coastal | Dusty Blue | Cream | Beige |
| Vintage | Mustard | Lavender | Cream |
| Minimalist | Taupe | — | Cream |
| Bright | Pink | Orange | Yellow |
A Simple 7-Round Beginner Version
If you want a quick project, try this smaller version.
Round 1
Create your triangular granny foundation.
Round 2
Work granny clusters into the three corners.
Round 3
Continue the corner increases and add clusters along each side.
Round 4
Repeat the same construction.
Round 5
Repeat.
Round 6
Repeat.
Round 7
Finish with a single-crochet or scalloped border.
This produces a compact bandana suitable for a smaller accessory or a lightweight head covering.
A Larger 12-Round Version
For a more substantial adult bandana:
Rounds 1–10: Granny stitch construction
Round 11: Granny stitch in a contrasting color
Round 12: Decorative border
You can also add tassels to the three corners.
Measuring Your Bandana
The easiest way to measure a triangular crochet bandana is to measure the longest straight edge.
For an adult accessory, approximately 18–24 inches can work well depending on the desired fit.
For a head bandana, test the project against your head before completing the final rounds.
Remember that crochet stretches, so the finished measurement may change slightly after blocking and wearing.
Care Instructions
Always check the yarn label first.
For many cotton or acrylic yarns:
- Wash gently
- Avoid aggressive agitation
- Reshape while damp
- Lay flat to dry when possible
- Avoid excessive heat
- Store folded rather than hanging
If you’ve added delicate decorative elements or tassels, hand washing is the safest option.
Gift Ideas
This bandana makes an excellent handmade gift because you can customize it to the recipient’s favorite colors.
Create a small gift set with:
- Crochet bandana
- Matching scrunchie
- Handmade card
- Small yarn flower
- Matching crochet headband
For a seasonal gift, choose colors inspired by the recipient’s favorite season.
Frequently Asked Questions
Is this crochet bandana beginner-friendly?
Yes. The main construction uses basic chains, double crochet, slip stitches, and granny clusters.
The most important technique is understanding where to place the corner increases.
How much yarn do I need?
A small bandana may require only a small amount of yarn, while a larger version can require significantly more. Having around 50–100 g available is a practical starting point.
Can I use cotton yarn?
Absolutely. Cotton is particularly nice for lightweight warm-weather bandanas because it has good stitch definition and breathability.
Can I use acrylic yarn?
Yes. Acrylic can produce a soft and colorful bandana, especially for fall and winter styling.
Can I make this pattern with leftover yarn?
Yes. This is one of the best projects for using small amounts of leftover yarn.
You can make every round a different color.
Can I make it larger?
Yes. Simply continue the granny rounds until you reach your desired size.
Can I make it smaller?
Yes. Stop after fewer rounds and adjust the ties accordingly.
Final Finishing Checklist
Before calling your bandana finished, check:
- All three corners are symmetrical
- The granny clusters are evenly spaced
- The edges are reasonably straight
- Loose ends are securely woven in
- The ties are approximately the same length
- The border is complete
- The triangle lies relatively flat
- The piece has been blocked if necessary
- The finished measurements have been checked
Final Thoughts
The beauty of this simple granny square triangle bandana is that the basic pattern is only the beginning. Once you understand the granny-cluster construction and the three corner increases, you can experiment with virtually unlimited variations.
Try a neutral cream version for an understated everyday accessory, combine sage and blush for a soft cottage-inspired look, or use bright scraps to create a playful striped bandana.
The same basic construction can also become a foundation for other crochet accessories. Change the yarn weight, adjust the number of rounds, experiment with borders, add tassels, or combine several colors to create a completely personalized design.
Most importantly, don’t worry about making every bandana exactly the same. Crochet is particularly beautiful when small differences in tension, color, and finishing give a handmade piece its own character.







