
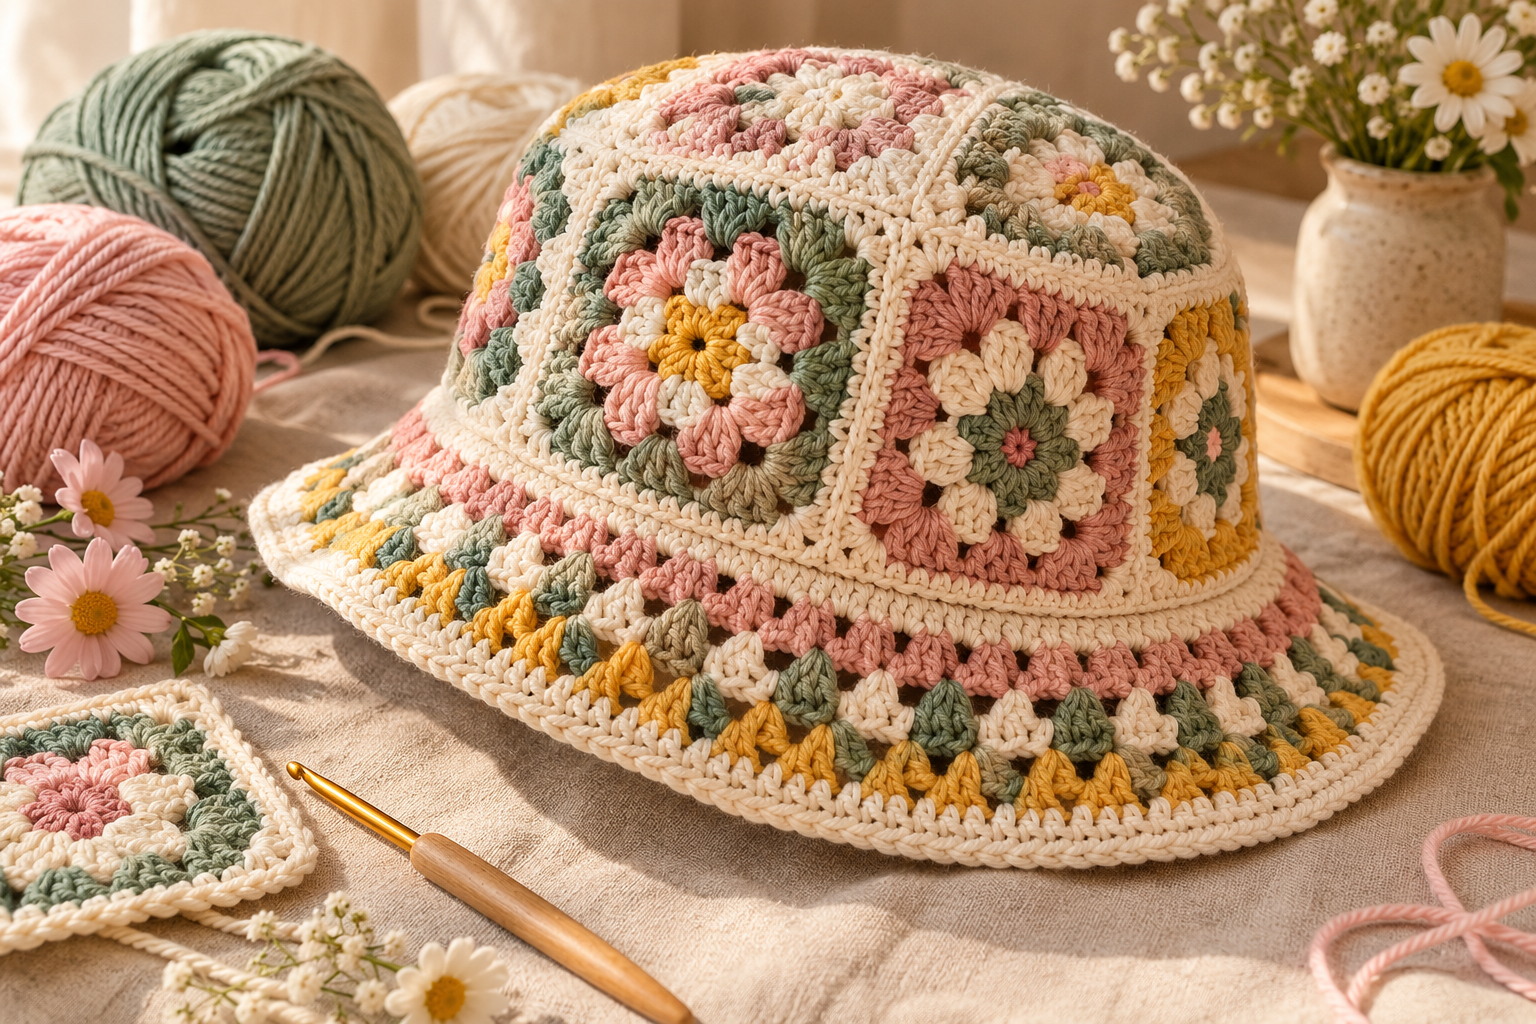
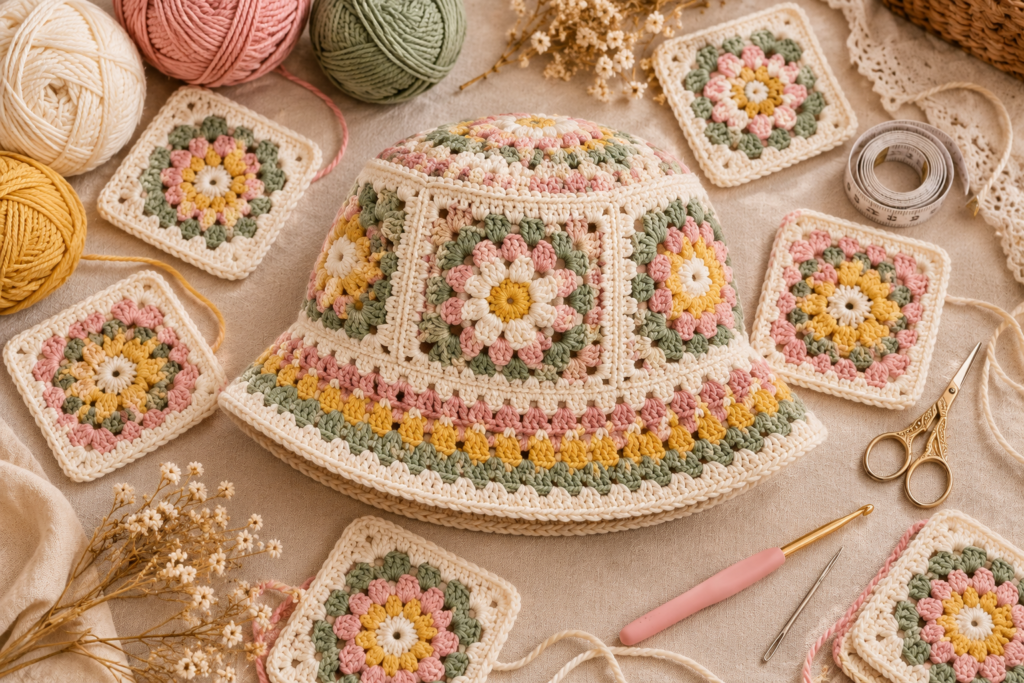
A granny square crochet bucket hat is one of those projects that looks complicated at first glance but is actually built from a handful of repeatable techniques. By combining small granny squares with a carefully shaped crown, side panels, and brim, you can create a colorful handmade hat that feels vintage, playful, and completely customizable.
This version uses individual floral-style granny squares, joined into a bucket-hat structure and finished with a simple crocheted brim. You can make it in soft pastels for spring, earthy colors for fall, or bold contrasting shades for a statement accessory.
The pattern below is an original construction and tutorial designed around the granny-square bucket-hat concept shown in your reference image. It is not a reproduction of another designer’s specific pattern.
What You’ll Learn
This tutorial covers:
- How to crochet the individual granny squares
- How to create a simple flower center
- How to build a square with granny clusters
- How many squares to make
- How to join the squares into a hat
- How to create the crown
- How to attach the brim
- How to adjust the hat for different head sizes
- How to change the colors
- How to make the brim firmer
- How to fix common sizing problems
- How to finish the hat neatly
- Several color combinations to try
Finished Hat Overview
The hat is constructed from three main components:
| Component | Purpose |
|---|---|
| Granny squares | Create the decorative patchwork body |
| Crown | Closes the top of the hat |
| Brim | Gives the bucket-hat shape and provides sun coverage |
For a classic adult size, aim for approximately:
| Measurement | Approximate Size |
|---|---|
| Head circumference | 21–23 in / 53–58 cm |
| Crown diameter | 6.5–7 in / 16.5–18 cm |
| Side height | 3.5–4.5 in / 9–11.5 cm |
| Brim width | 2–2.5 in / 5–6.5 cm |
These measurements are guidelines rather than rigid requirements because crochet tension varies considerably.
Materials
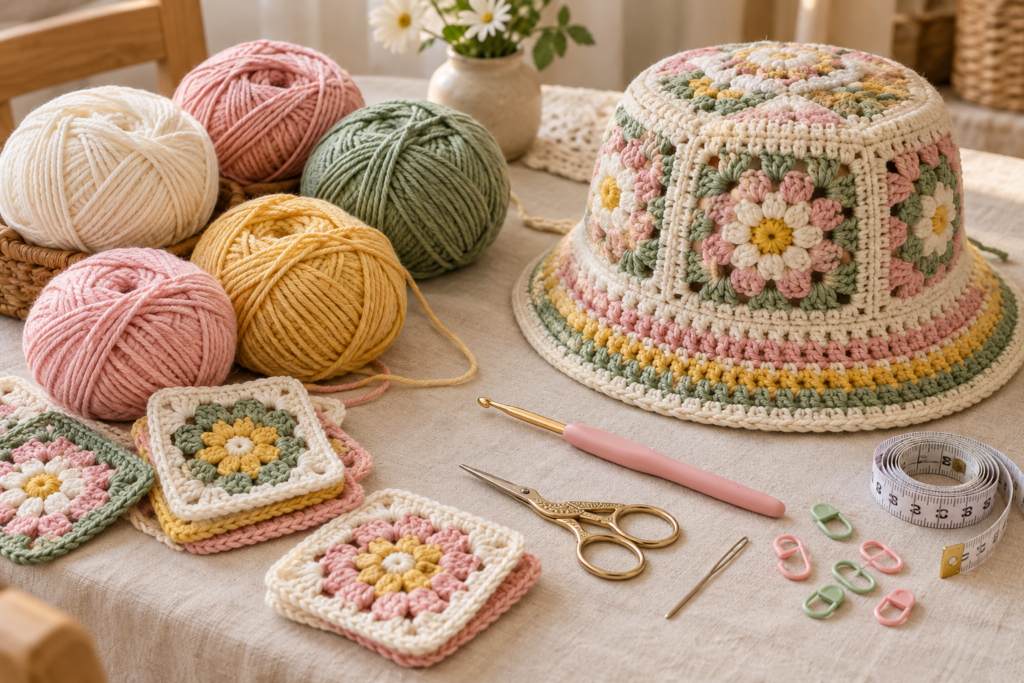
Yarn
Choose a yarn that has enough structure to hold the shape of the hat without becoming too stiff.
A good starting point is:
- Worsted-weight yarn, approximately 150–220 g total
- Main color
- 3–5 contrasting colors for the squares
- Optional neutral color for joining and edging
For a softer, lighter summer hat, you can substitute cotton or cotton-blend yarn.
Suggested Yarn Weight
| Yarn | Result |
|---|---|
| DK | Lightweight, delicate hat |
| Worsted | Structured everyday bucket hat |
| Cotton worsted | Crisp summer hat |
| Cotton blend | Softer drape with good structure |
| Bulky | Chunky statement hat |
Avoid extremely fuzzy yarn for the granny squares because it can make the individual stitches difficult to see.
Crochet Hook
Start with a 4.0–5.0 mm crochet hook, depending on your yarn.
The most important thing is not the exact hook size but the fabric you create.
For a bucket hat, your stitches should be firm enough that the fabric doesn’t become overly floppy or develop large holes.
If your fabric feels loose and stretchy, go down 0.5 mm.
If the fabric feels extremely stiff, go up 0.5 mm.
Other Supplies
You’ll also need:
- Yarn needle
- Scissors
- Stitch markers
- Measuring tape
- Optional blocking mat
- Optional fabric or millinery wire for a very structured brim
Abbreviations
This tutorial uses US crochet terminology.
| Abbreviation | Meaning |
|---|---|
| ch | Chain |
| sl st | Slip stitch |
| sc | Single crochet |
| hdc | Half double crochet |
| dc | Double crochet |
| st | Stitch |
| sp | Space |
| sk | Skip |
| rep | Repeat |
| rnd | Round |
| cluster | Group of stitches worked together |
Basic Granny Square Structure
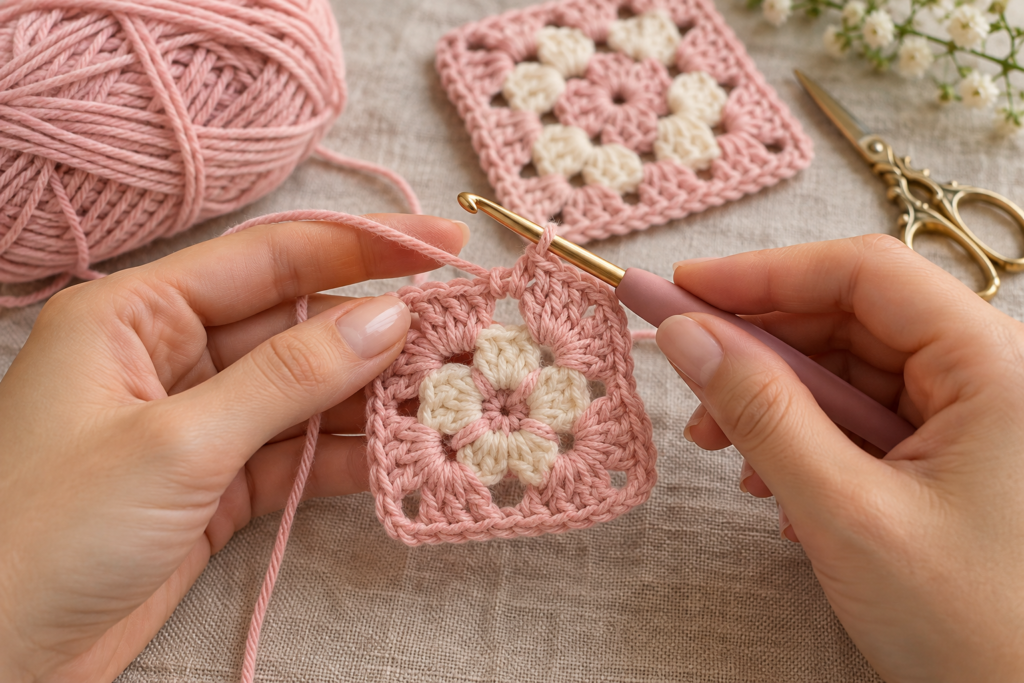
The most recognizable feature of this hat is the granny-square fabric.
Traditional granny squares are created using groups of three double crochets separated by chain spaces.
A basic granny cluster looks like:
3 dc in the same space
The chain spaces between clusters create the open structure associated with granny crochet.
For this hat, we’re going to add a small floral center so the finished squares resemble the colorful flower-inspired squares shown in the reference.
Original Floral Granny Square Pattern
Make approximately 10–12 squares for an adult hat, depending on the dimensions of your squares and the circumference you want.
For a smaller child-size hat, you may need fewer squares.
Round 1 – Flower Center
Using your first color:
- Make a magic ring.
- Ch 2.
- Work 8 dc into the ring.
- Pull the magic ring closed.
- Sl st to the first dc.
- Fasten off.
You should now have a small circular center.
Do not worry if the center looks slightly loose. You will tighten it when you pull the magic ring closed.
Round 2 – Create the Petals
Join your second color in any stitch.
For each petal:
- Ch 2.
- Work 2 dc in the same stitch.
- Ch 1.
- Skip the next stitch.
- Repeat around.
Depending on your tension, you can adjust the number of petals.
The important thing is to maintain an even arrangement around the center.
Finish with a slip stitch and fasten off.
Round 3 – Granny Clusters
Join your third color in a chain space.
Work:
Ch 2, 2 dc, ch 2, 3 dc
in the same space to begin forming a corner.
Then work:
3 dc in the next chain space
Continue around.
At four evenly spaced points, create corner spaces.
Each corner should contain:
3 dc, ch 2, 3 dc
This is what gradually transforms the circular flower center into a square.
Round 4 – Square Expansion
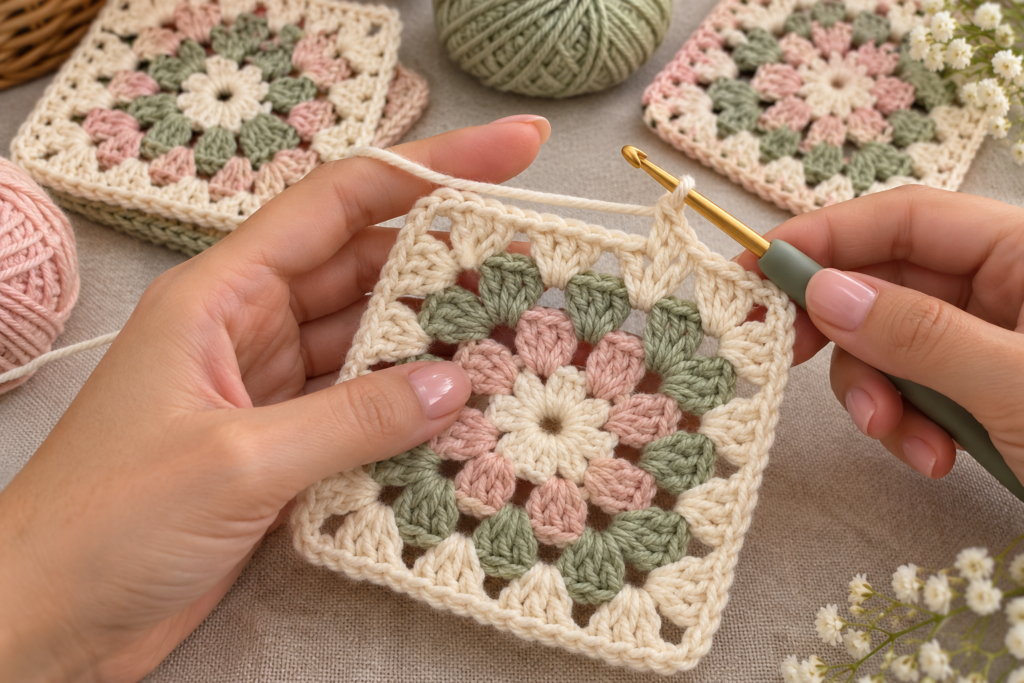
Join another color.
At each corner:
3 dc, ch 2, 3 dc
In each side space:
3 dc
Continue around the entire square.
At the end, join with a slip stitch.
Round 5 – Final Square Round
For a slightly larger adult hat, add one more granny round.
Work:
3 dc in every side space
and:
3 dc, ch 2, 3 dc
in every corner.
Fasten off and weave in the ends.
You should now have a square with:
- A floral center
- Several granny clusters
- Four clear corners
- A relatively flat shape
Square Size
Try to keep every square approximately the same size.
For example:
| Size | Approximate Square |
|---|---|
| Baby | 3.5–4 in |
| Child | 4–4.5 in |
| Teen | 4.5–5 in |
| Adult | 5–5.5 in |
You don’t necessarily need to make exactly the same number of rounds for every size.
Square dimensions matter more than round count.
How Many Squares Do You Need?
For the adult version, start with approximately:
10 granny squares
Arrange them as:
- 5 squares around the lower side
- 5 squares around the upper side
Then construct the crown separately.
However, if your squares are smaller, you may need more.
The best method is to measure the circumference of your head and compare it with the assembled strip.
Measuring the Hat
Measure around your head where you want the hat to sit.
For example:
Head circumference = 56 cm
You want the finished hat circumference to be slightly smaller because crochet stretches.
A comfortable target might be approximately:
54–55 cm
rather than exactly 56 cm.
This creates a gentle fit without making the hat uncomfortably tight.
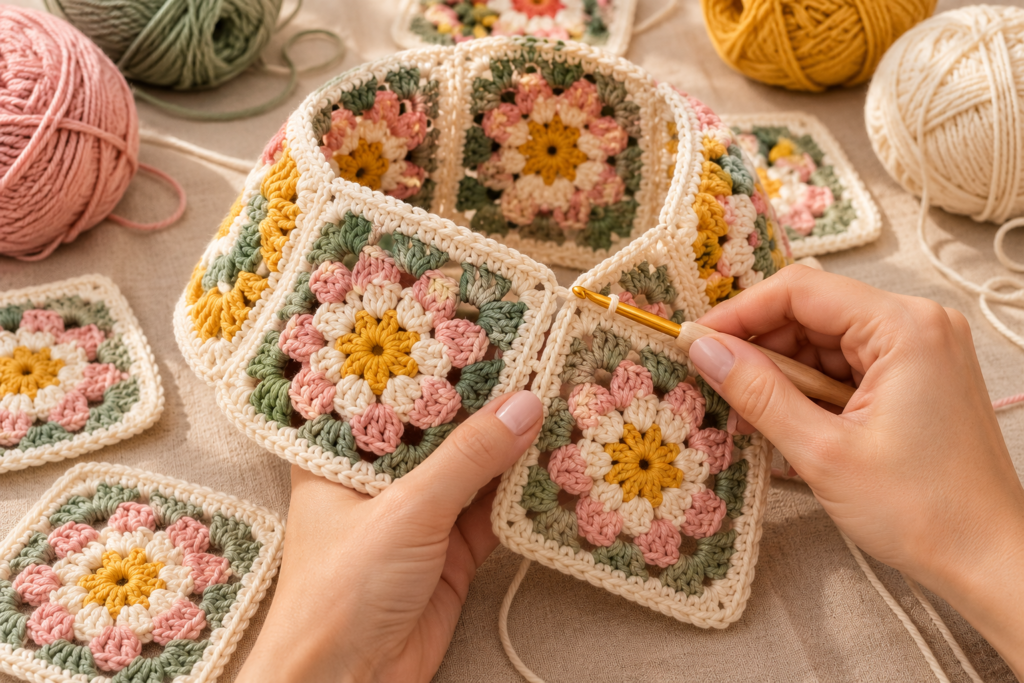
Joining the Granny Squares
There are several ways to join the squares.
For this bucket hat, a flat slip-stitch join works particularly well.
Step 1
Place two squares together with their right sides facing upward.
Align the stitches along one edge.
Step 2
Insert your hook through the corresponding stitches of both squares.
Step 3
Yarn over and pull through both layers.
Step 4
Continue slip stitching across the entire edge.
Keep your tension consistent.
If you pull the joining stitches too tightly, the hat can become puckered.
Alternative Joining Method
For a more decorative look, use a single crochet join.
Work:
1 sc through both corresponding stitches
across the edge.
This creates a visible raised seam.
It can look especially attractive when you use a contrasting color.
Building the Hat Body
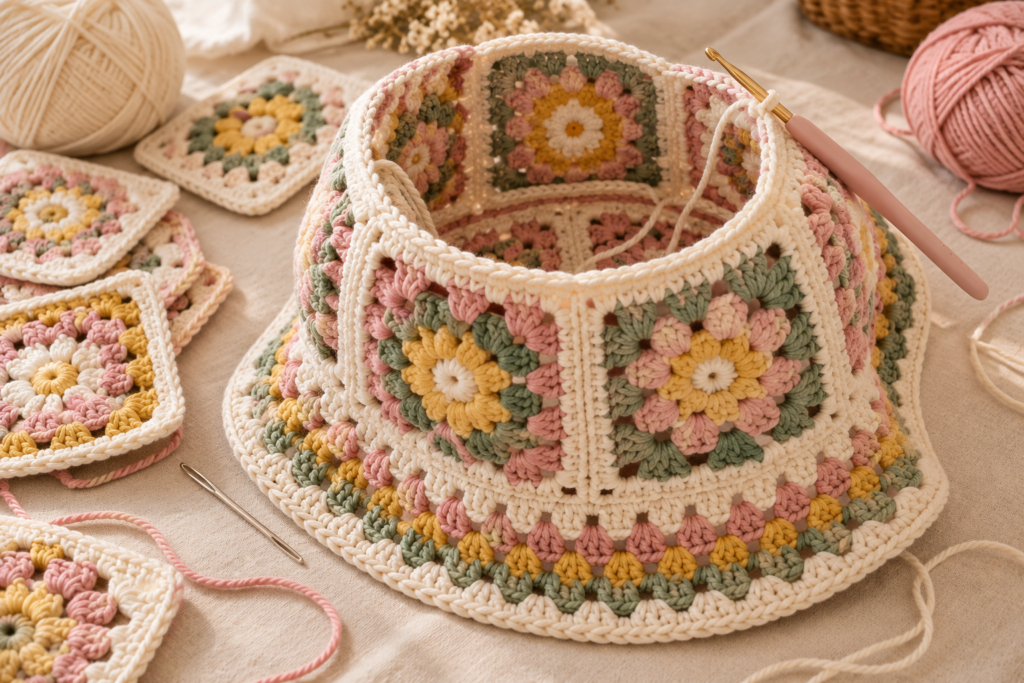
Once your squares are joined into a long strip, connect the first and last squares.
This creates a circular band.
Before joining permanently, place the strip around your head.
Check:
- Is it too tight?
- Is it too loose?
- Does it sit comfortably?
- Are the seams aligned?
- Does the circumference match your measurements?
Make adjustments now rather than after attaching the crown.
Creating the Crown
The crown can be made as a simple circular crochet piece.
The objective is to create a circle approximately the same width as the top of your assembled hat.
Crown Round 1
Make a magic ring.
Ch 2.
Work:
10 dc into the ring
Join with a slip stitch.
Crown Round 2
Ch 2.
Work:
2 dc in every stitch
Join.
You should now have approximately 20 stitches.
Crown Round 3
Ch 2.
Work:
1 dc in the next stitch, 2 dc in the following stitch
Repeat around.
Crown Round 4
Increase evenly around.
A useful sequence is:
2 dc, 2 dc in next stitch
Repeat.
Round 5+
Continue increasing only when necessary.
The crown should remain flat.
This is important.
If the crown begins forming a bowl shape, you probably aren’t increasing enough.
If it develops ruffles, you may be increasing too quickly.
Crown Troubleshooting
| Problem | Likely Cause | Solution |
|---|---|---|
| Crown curls upward | Too few increases | Add more increases |
| Crown becomes wavy | Too many increases | Reduce increases |
| Crown is too small | Stop increasing too early | Add another round |
| Crown is too large | Too many increase rounds | Remove one increase round |
| Crown doesn’t match body | Gauge differs | Adjust hook or stitches |
Attaching the Crown
Place the crown on top of the circular granny-square body.
Match the circumference carefully.
Use stitch markers at:
- Front
- Back
- Left side
- Right side
This helps distribute the crown evenly.
Work through both layers using single crochet or slip stitches.
For a subtle finish, use the same color as the outer edge of your squares.
For a decorative finish, use a contrasting color.
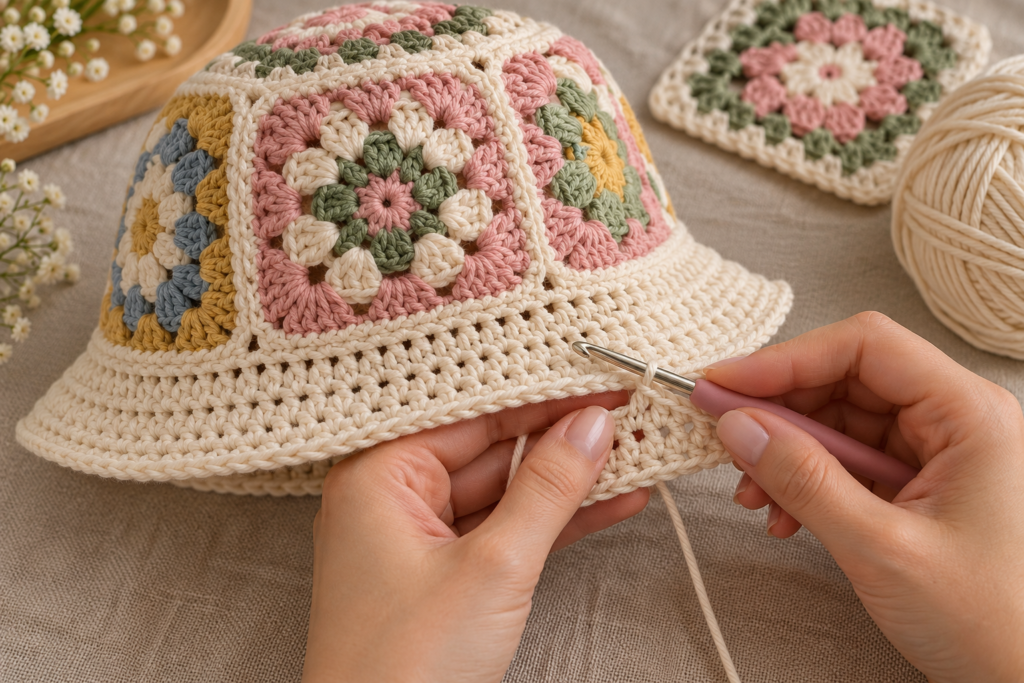
Creating the Bucket-Hat Brim
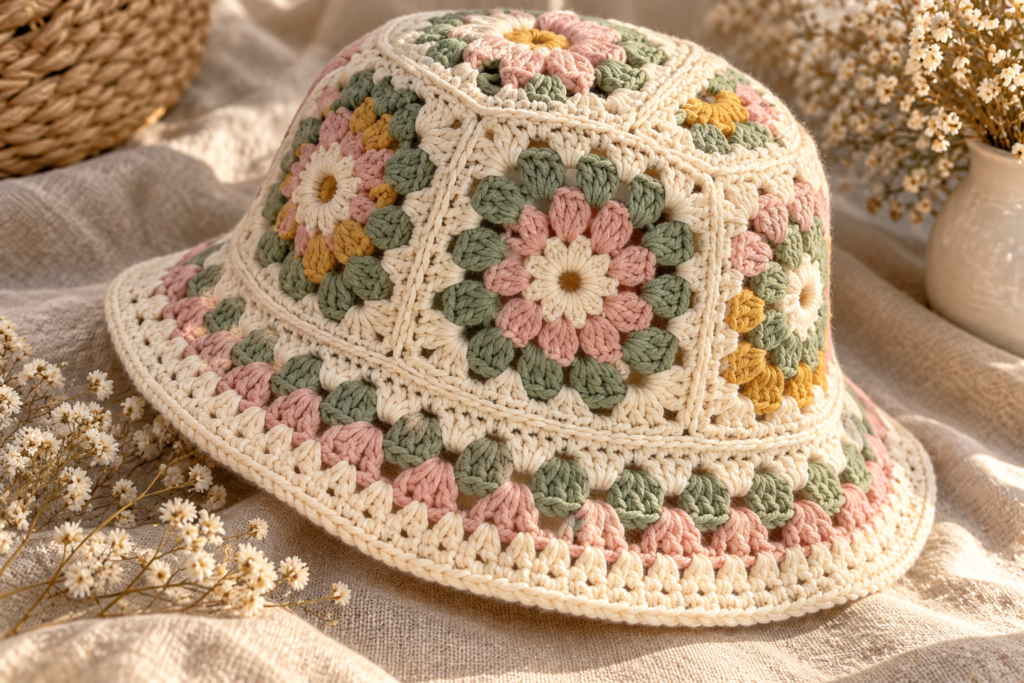
The brim is what transforms the project from a simple patchwork cap into a bucket hat.
Join your yarn around the bottom edge.
Brim Round 1
Work 1 sc in each stitch around.
Join with a slip stitch.
Brim Round 2
Begin adding increases.
A simple sequence is:
4 sc, 2 sc in next stitch
Repeat around.
The exact number of increases depends on how wide your body is.
Brim Round 3
Continue increasing evenly.
Try the hat on after every round.
You want the brim to extend outward rather than curl downward excessively.
Brim Round 4
Work mostly even stitches.
If necessary, add a few additional increases.
Brim Round 5
Work another even round.
For a narrow everyday brim, this may be enough.
For a dramatic sun hat, continue for additional rounds.
Brim Size Guide
| Style | Approx. Brim Extension |
|---|---|
| Minimal | 1–1.5 in |
| Classic bucket hat | 2–2.5 in |
| Wide brim | 3–4 in |
| Statement sun hat | 4+ in |
Creating a Structured Brim
If you want the brim to hold its shape more firmly, there are several options.
Option 1: Tight Crochet
Use a slightly smaller hook for the final rounds.
Option 2: Crab Stitch
Finish the brim with reverse single crochet.
This creates a firm decorative edge.
Option 3: Wire
For a very structured fashion hat, a suitable craft or millinery wire can be enclosed along the final edge.
If using wire, make sure the ends are completely covered and secured so they cannot poke through the crochet.

Optional Decorative Border
A scalloped border looks beautiful with floral granny squares.
Try:
sl st, sc, hdc, 3 dc, hdc, sc
Repeat along the edge.
This creates a small rounded scallop.
For a cleaner modern look, simply use a round of single crochet.
Color Combinations
One of the best parts of this project is choosing the colors.
Soft Cottage Palette
- Cream
- Blush pink
- Sage green
- Pale yellow
Vintage Garden
- Dusty rose
- Olive
- Oatmeal
- Mustard
Spring Pastels
- Lavender
- Baby blue
- Butter yellow
- Soft pink
- Cream
Neutral Modern
- Ivory
- Taupe
- Beige
- Chocolate brown
Colorful Retro
- Coral
- Mustard
- Teal
- Pink
- Purple
- Cream
Color Placement Formula
If you don’t want the hat to look random, use this simple formula:
60% neutral + 30% main colors + 10% accent
For example:
- 60% cream
- 20% sage
- 10% pink
- 10% mustard
This keeps the finished hat colorful without becoming visually overwhelming.
Making the Hat Reversible
If you want a more versatile design, keep both sides neat.
When joining your squares:
- Weave in every yarn end carefully.
- Avoid large knots.
- Keep joining seams consistent.
- Use a similar color throughout the inside.
The hat can then look attractive from either side.
Size Adjustments
The easiest way to customize the hat is to modify the square size and number of squares.
For a Smaller Hat
Use:
- Smaller granny squares
- Fewer joining rounds
- Slightly smaller crown
- Narrower brim
For a Larger Hat
Use:
- Larger granny squares
- Additional granny rounds
- Larger crown
- Additional brim rounds
Baby and Child Sizes
For smaller heads, don’t simply reduce the adult pattern proportionally.
Use the actual head circumference.
| Approx. Size | Head Circumference |
|---|---|
| Baby | 15–17 in |
| Toddler | 17–19 in |
| Child | 19–20.5 in |
| Teen | 20–22 in |
| Adult | 21–23 in |
These are approximate ranges. Measuring the intended wearer is always preferable.
Gauge
Because this is a wearable item, gauge matters.
Make one granny square and measure it.
For example:
5 × 5 inches
If your square is:
6 × 6 inches
your finished hat will become significantly larger.
If your square is:
4 × 4 inches
you’ll need additional squares or construction adjustments.
Blocking the Granny Squares
Blocking can dramatically improve the final appearance.
Lightly dampen your finished squares.
Gently stretch each square until the corners are clearly defined.
Pin the corners.
Allow them to dry completely.
Do not aggressively stretch the squares because this can distort the stitches.
Joining Tips for a Professional Finish
Keep these details in mind:
- Match corners carefully.
- Don’t pull joining stitches too tightly.
- Hide yarn tails between stitches.
- Check the circumference before attaching the crown.
- Alternate colors intentionally.
- Block the squares before assembly.
- Use stitch markers at important joining points.
Common Mistakes
My Granny Square Isn’t Square
This usually happens because of uneven tension or incorrect corner construction.
Check that every corner contains the same number of stitches and chain spaces.
My Hat Is Too Loose
Try:
- Smaller hook
- Smaller crown
- Tighter joining
- Fewer increase stitches
- Slightly smaller squares
My Hat Is Too Tight
Try:
- Larger hook
- Larger squares
- Additional granny rounds
- More squares around the circumference
My Brim Won’t Stay Flat
If the brim curls upward, increase more gradually.
If it becomes wavy, reduce the number of increases.
My Squares Don’t Match
Measure every square before joining.
Even a difference of ½ inch between squares can become noticeable across an entire hat.
Finishing the Hat
Once the entire hat is assembled:
- Cut the yarn.
- Leave a 5–6 inch tail.
- Pull the yarn through the final loop.
- Thread it onto your yarn needle.
- Weave through several stitches.
- Change direction.
- Weave again.
- Trim the excess.
- Repeat with all remaining ends.
Avoid simply cutting yarn tails close to the fabric.
They can work themselves loose over time.
Final Blocking
Place the finished hat over a bowl or hat form approximately the desired size.
Lightly mist it with water.
Shape:
- Crown
- Side walls
- Brim
Allow it to dry naturally.
This can help create a much cleaner bucket-hat silhouette.
Styling Ideas
This granny square bucket hat works especially well with casual outfits.
Try pairing it with:
- White linen shirts
- Denim jackets
- Simple cream sweaters
- Wide-leg jeans
- Summer dresses
- Neutral cardigans
- Crochet tops
- Oversized button-downs
For a coordinated handmade look, match one of the hat colors with your clothing.
How to Make a Matching Set
Once you’ve made the hat, use the same granny-square colors for:
- Crochet bandanas
- Granny square bags
- Phone pouches
- Mini purses
- Scarves
- Hair accessories
- Tote bags
A matching crochet collection can be especially beautiful when the same three or four colors are repeated across different projects.
Quick Pattern Summary
Granny Square
Round 1: Magic ring + 8 dc
Round 2: Petal clusters
Round 3: Begin forming corners
Round 4: Granny clusters around
Round 5: Final expansion round
Make enough squares to reach the desired circumference.
Body
Join squares into a strip.
Connect the first and final squares to form a tube.
Crown
Crochet a flat circular piece with evenly spaced increases.
Attach it to the top of the granny-square tube.
Brim
Work sc around the bottom.
Add evenly distributed increases.
Continue until the desired brim width is reached.
Finish with a firm decorative border.
Project Checklist
| Step | Complete |
|---|---|
| Choose yarn | ☐ |
| Choose color palette | ☐ |
| Make gauge square | ☐ |
| Crochet granny squares | ☐ |
| Block squares | ☐ |
| Arrange colors | ☐ |
| Join squares | ☐ |
| Create circular body | ☐ |
| Crochet crown | ☐ |
| Attach crown | ☐ |
| Crochet brim | ☐ |
| Add finishing border | ☐ |
| Weave in ends | ☐ |
| Block finished hat | ☐ |
Final Thoughts
This granny square bucket hat is a great project because the construction can be adapted almost endlessly. You can keep the classic floral appearance from the colorful reference style, simplify the squares for a minimalist version, or experiment with completely different color palettes.
The most important part is to measure as you go. Granny squares can vary considerably depending on yarn, hook size, and tension, so using the finished measurements rather than blindly following a fixed number of squares will give you a much better-fitting hat.
Once you’ve mastered the basic construction, you can create an entire collection of bucket hats using different flowers, borders, color combinations, and brim widths while keeping the same basic construction method.







