
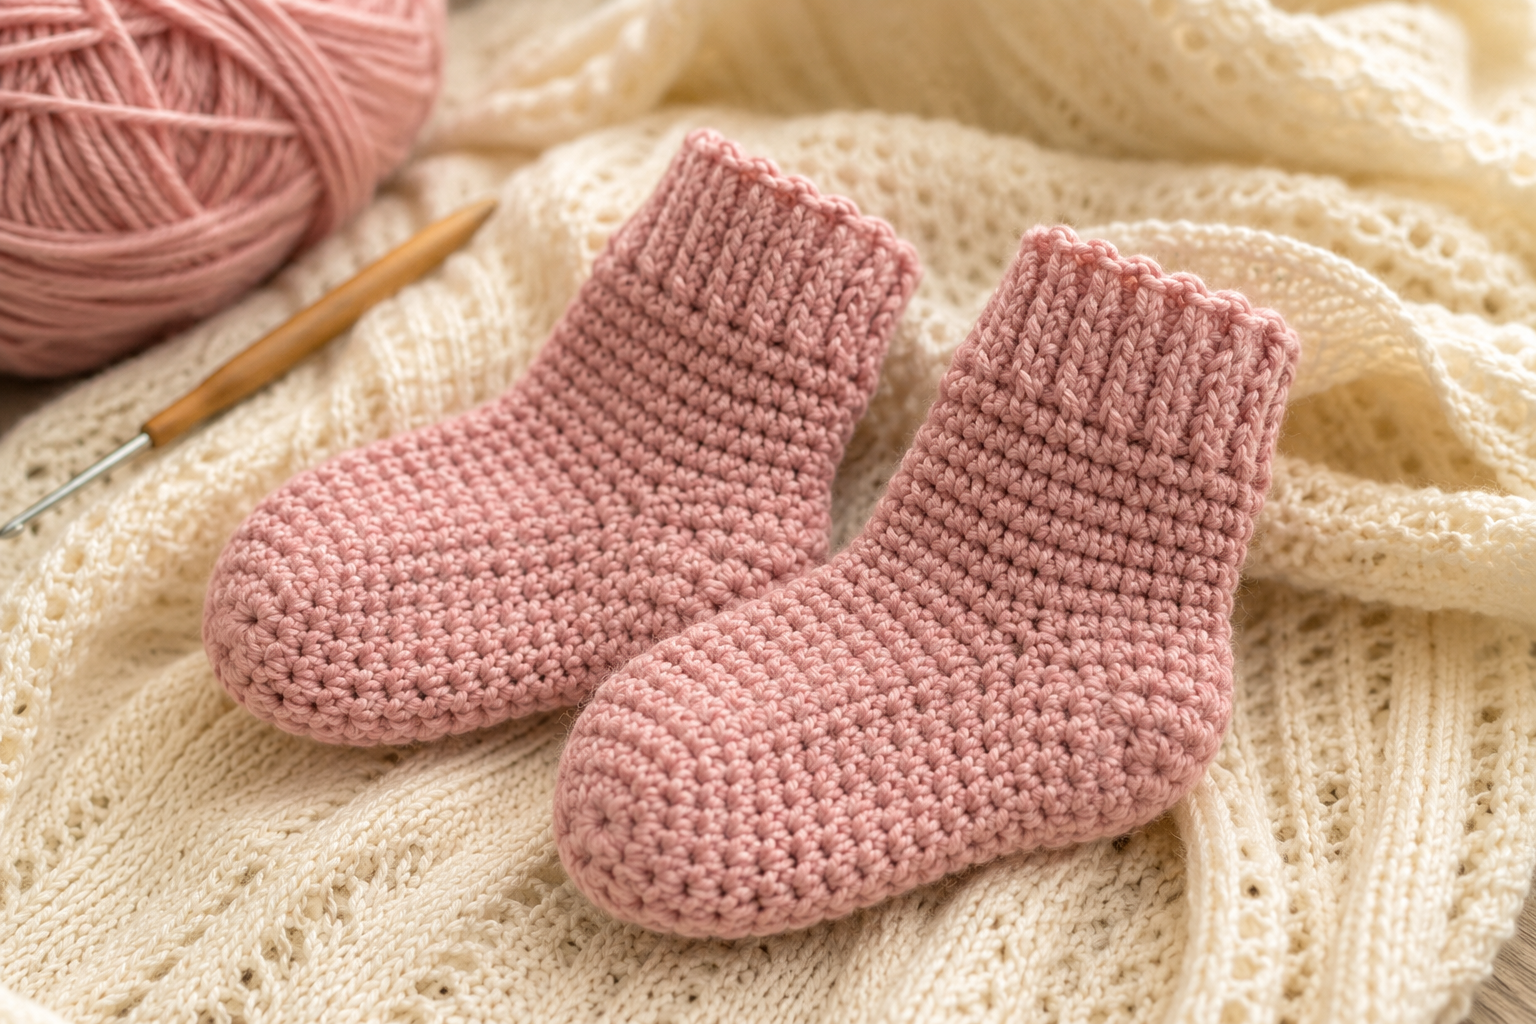
Crochet baby socks are a sweet little project for new crocheters because they are small, portable, and require only a modest amount of yarn. They also make thoughtful handmade gifts for baby showers, newborn photo sessions, and first wardrobes.
This tutorial shows you how to make a simple pair of crochet baby socks with a shaped heel, rounded toe, and comfortable cuff. The construction is intentionally straightforward, so you can practice single crochet while learning how to shape a tiny sock.
The pattern below is an original beginner-friendly pattern, inspired by the general construction of the reference image rather than reproducing its written pattern.
Table of Contents
- Why Crochet Baby Socks?
- Project Overview
- Materials You’ll Need
- Yarn and Hook Guide
- Baby Sock Size Guide
- Crochet Abbreviations
- How the Sock Is Constructed
- Free Crochet Baby Socks Pattern
- Step-by-Step Tutorial
- How to Shape the Heel
- How to Shape the Foot and Toe
- How to Make the Cuff
- How to Adjust the Size
- Color Ideas
- Common Problems and Fixes
- Baby Sock Safety and Fit
- Care Instructions
- How to Turn These Into a Baby Gift
- Frequently Asked Questions
- Related Crochet Posts
- Final Thoughts
Why Crochet Baby Socks?
Baby socks are a great introduction to small wearable crochet projects.
Unlike a blanket, you can usually finish one sock in a relatively short sitting. The project also teaches several useful crochet skills:
- Working in rows
- Working in the round
- Increasing
- Decreasing
- Turning a heel
- Shaping a toe
- Joining pieces
- Checking gauge
- Adjusting dimensions
- Finishing and weaving in ends
Once you understand how this little sock is constructed, you’ll have a better foundation for making other crochet baby accessories.
Project Overview
| Detail | Information |
|---|---|
| Project | Crochet baby socks |
| Skill level | Beginner to easy |
| Construction | Toe/foot + heel + cuff |
| Stitch | Mainly single crochet |
| Yarn | Soft lightweight yarn |
| Hook | Approximately 3–3.5 mm |
| Pair | Make 2 |
| Sewing | Minimal |
| Best for | Baby gifts and keepsakes |
Because babies grow quickly, it is particularly important to measure the baby’s foot whenever possible rather than relying only on age ranges.
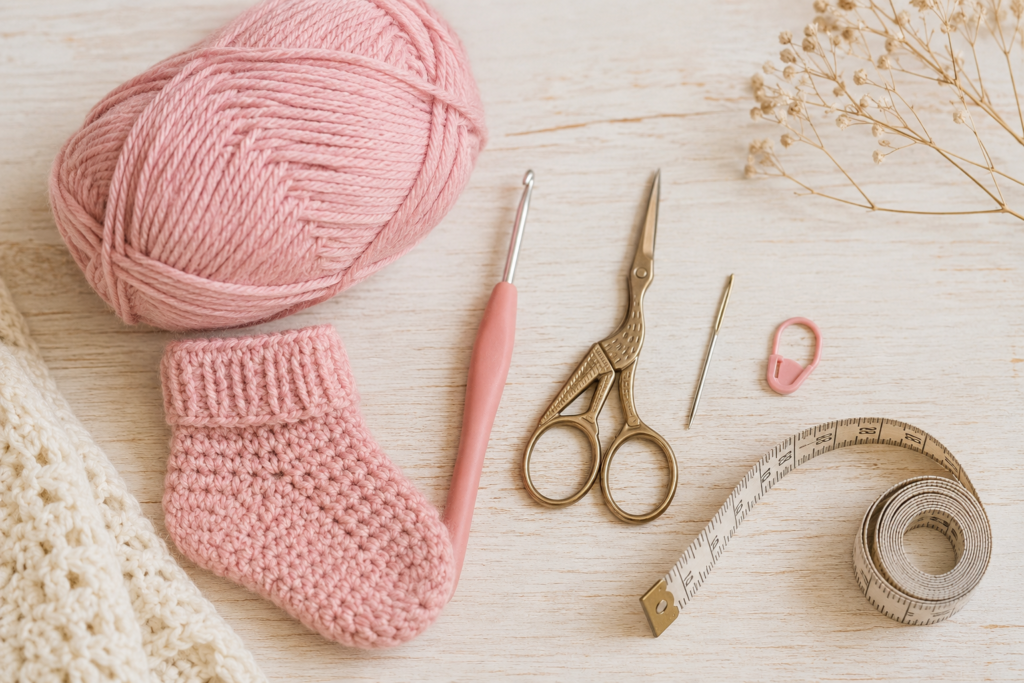
Materials You’ll Need
Yarn
Choose a soft yarn suitable for baby garments.
Good choices include:
- Soft acrylic
- Baby acrylic
- Cotton-acrylic blend
- Fine washable yarn
- Baby-weight yarn
Avoid scratchy fibers and yarns that shed heavily.
Hook
A 3.0–3.5 mm crochet hook is a useful starting point for lightweight yarn.
The exact hook depends on your yarn and tension.
Other Supplies
| Supply | Purpose |
|---|---|
| Crochet hook | Making the sock |
| Soft yarn | Main material |
| Yarn needle | Weaving in ends |
| Scissors | Cutting yarn |
| Stitch marker | Marking rounds |
| Measuring tape | Checking foot size |
Yarn and Hook Guide
Your yarn choice has a significant effect on the finished sock.
| Yarn | Result |
|---|---|
| Fine/baby yarn | Lightweight, delicate sock |
| DK yarn | Slightly thicker, warmer sock |
| Cotton blend | Breathable and structured |
| Soft acrylic | Easy-care and washable |
For a newborn-sized sock, avoid making the fabric too dense or stiff.
The finished sock should have some flexibility.
Baby Sock Size Guide
Age is only an estimate. Babies vary considerably, so measuring the foot is the most reliable approach.
| Approx. Age | Approx. Foot Length | Suggested Sock Length |
|---|---|---|
| Newborn | 3–3.5 in | 3–3.5 in |
| 0–3 months | 3.5–4 in | 3.5–4 in |
| 3–6 months | 4–4.5 in | 4–4.5 in |
| 6–12 months | 4.5–5 in | 4.5–5 in |
These are planning measurements, not medical or standardized sizing.
If you know the baby’s actual foot length, use that measurement instead.
Crochet Abbreviations
This tutorial uses US crochet terminology.
| Abbreviation | Meaning |
|---|---|
| ch | Chain |
| sc | Single crochet |
| sl st | Slip stitch |
| inc | Increase |
| dec | Decrease |
| st | Stitch |
| sts | Stitches |
| rep | Repeat |
| rnd | Round |
Increase
sc inc: Work 2 single crochets into the same stitch.
Decrease
sc2tog: Insert the hook into the next stitch and pull up a loop. Insert into the following stitch and pull up another loop. Yarn over and pull through all loops on the hook.
This creates a neater decrease than simply skipping a stitch.
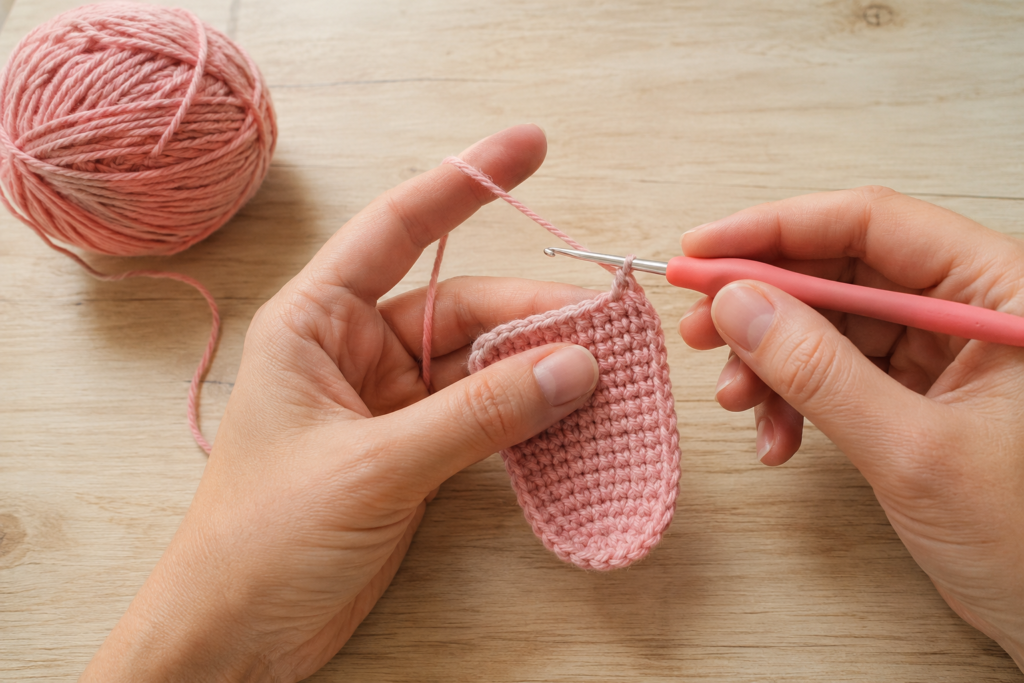
How the Sock Is Constructed
Before beginning, it helps to understand the construction.
The sock has four main areas:
1. Foot
The toe and main foot are crocheted first.
2. Heel
The heel is created by shaping a small section of stitches.
3. Ankle
After the heel is completed, the sock continues upward.
4. Cuff
The top is finished with several rows designed to give the sock a little structure.
This construction means you don’t have to crochet a complicated tube from beginning to end.
Free Crochet Baby Socks Pattern
Size
This beginner version is designed approximately for a 0–3 month size, depending on yarn, hook and tension.
Finished foot length: approximately 3.5–4 inches.
For best results, compare your work with the baby’s actual foot measurement.
Part 1: Toe and Foot
Step 1 — Foundation Chain
Chain 7.
Single crochet into the second chain from the hook.
Continue with 1 sc in each chain across.
You should have:
6 sc
Turn.
Step 2 — First Foot Rows
Chain 1.
Work 1 sc into each stitch across.
You should still have:
6 stitches
Repeat this for several rows until you have a small rectangular section.
For a newborn-sized sock, work approximately 6–8 rows before beginning the shaping.
Why this matters
This creates the initial foot section and gives you a clear base from which to begin shaping.
Part 2: Shaping the Heel
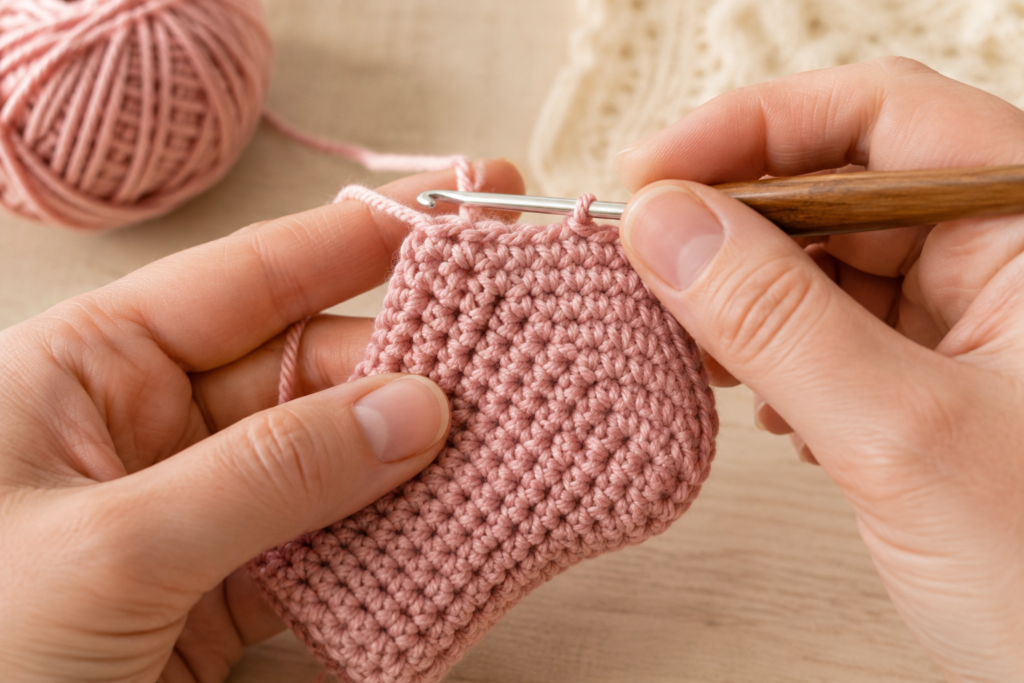
The heel is where the flat piece starts to become a sock.
Heel Row 1
Chain 1.
Sc in the first 3 stitches.
Work sc2tog over the next 2 stitches.
Sc in the final stitch.
You should now have:
5 stitches
Turn.
Heel Row 2
Chain 1.
Sc across all 5 stitches.
Turn.
Heel Row 3
Chain 1.
Sc in the first 2 stitches.
Sc2tog.
Sc in the final 2 stitches.
You should now have:
4 stitches
Turn.
Heel Row 4
Chain 1.
Sc across.
Turn.
Why the Heel Is Shaped This Way
The decreases pull the fabric inward.
Instead of keeping the back completely rectangular, the decreases create a shallow curved area that helps the sock sit around the heel.
This is one of the most important concepts to understand when learning crochet footwear:
decreases create shaping.
Part 3: Returning to the Foot
After shaping the heel, you’ll gradually return to the larger foot width.
Next Row
Chain 1.
Sc across the 4 stitches.
At the edge, work an increase into the appropriate side area to begin rebuilding the width.
Continue working around the heel and reconnecting with the foot section.
Your goal is to return to approximately:
6–7 stitches across the foot
depending on your tension and desired fit.
Part 4: Foot Length
Once the heel has been shaped, continue working single crochet until the sock reaches the desired foot length.
Work approximately:
8–12 additional rows
for a small baby sock.
Don’t rely solely on row count.
Instead, place the crochet piece against the baby’s foot measurement.
You want the finished foot to reach comfortably from the heel to the toe without being stretched tightly.
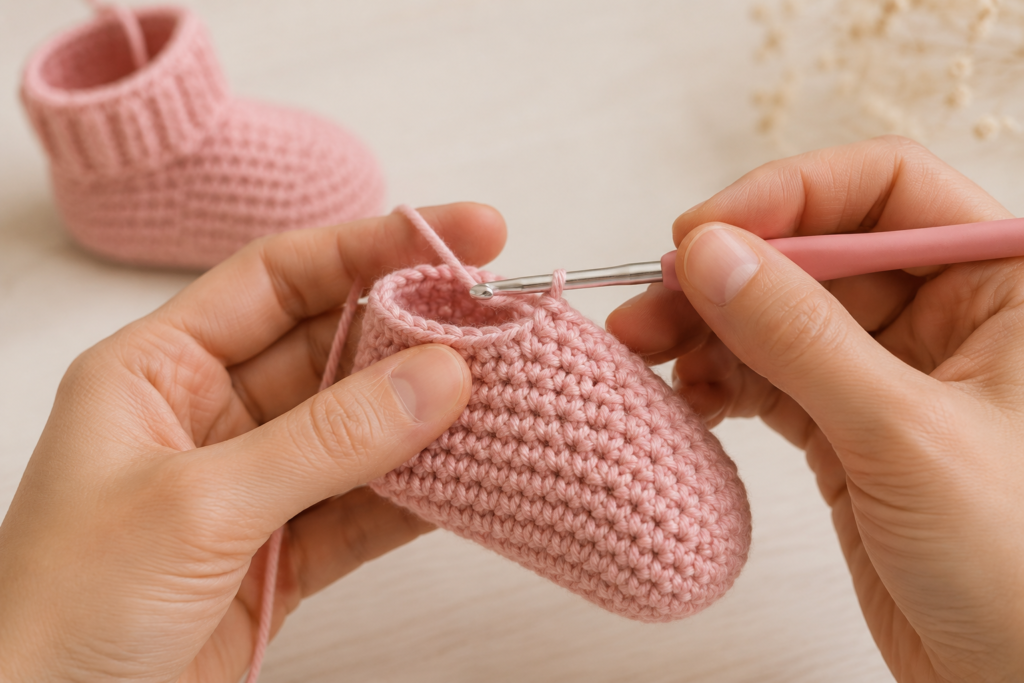
Part 5: Shaping the Toe
The toe should gradually narrow toward the front.
Suppose you have approximately 7 stitches.
Toe Row 1
Sc in the first 2 stitches.
Sc2tog.
Sc in the remaining stitches.
Toe Row 2
Sc across.
Toe Row 3
Repeat a decrease near the center of the toe.
Final shaping
Continue alternating a plain row with a decrease row until the opening becomes small.
Fasten off with a long tail.
Use a yarn needle to close the remaining opening.
Closing the Toe
Thread the yarn tail onto your tapestry needle.
Insert the needle through the front loops of the remaining stitches.
Pull gently.
The opening should close gradually.
Don’t pull so aggressively that the fabric puckers.
Secure the yarn on the inside and weave in the end.
Part 6: Creating the Ankle
Now that the foot is complete, continue upward around the opening.
Join your yarn at the heel.
Round 1
Work sc evenly around the ankle opening.
Try to maintain an even stitch distribution.
Join with a slip stitch.
Rounds 2–5
Chain 1.
Sc around.
Join at the end of each round.
Repeat until the ankle reaches your desired height.
For a short baby sock, approximately 4–6 rounds can be enough.
Part 7: Simple Crochet Cuff
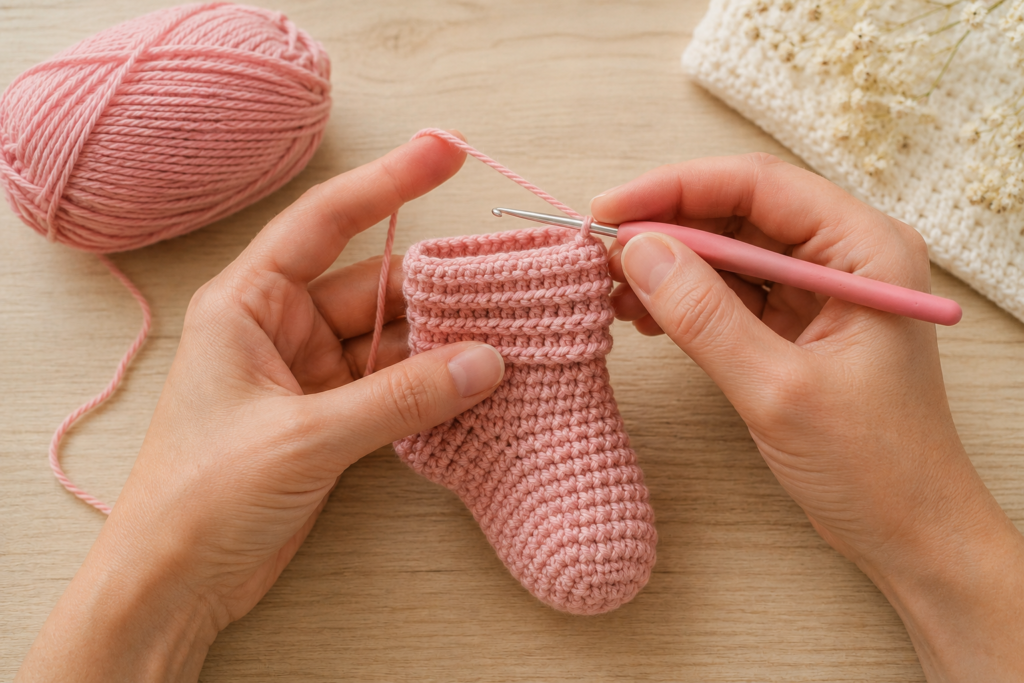
The cuff can be made with single crochet, but a ribbed cuff gives the sock a more finished appearance.
Ribbed Cuff Option
Chain 6.
Turn.
Sc in the second chain from the hook and across.
You should have:
5 sc
Continue working rows of sc through the back loop only.
Work enough rows to create a strip that comfortably fits around the ankle opening.
Join the short ends of the strip together.
Then attach the cuff to the sock opening using slip stitches or single crochet.
Why back-loop-only crochet?
Working through the back loop creates horizontal ridges.
Those ridges imitate the appearance of knitted ribbing and give the cuff additional visual texture.
Complete Construction at a Glance
| Section | Main Technique |
|---|---|
| Toe | Single crochet |
| Foot | Single crochet rows |
| Heel | Decreases |
| Ankle | Single crochet rounds |
| Cuff | Back-loop single crochet |
| Finishing | Needle closure + weaving ends |
Step-by-Step Visual Workflow
If you’re new to crochet socks, follow this order:
Step 1
Make the foundation chain.
Step 2
Work the first foot section.
Step 3
Shape the heel using decreases.
Step 4
Reconnect the heel with the foot.
Step 5
Continue until the foot reaches the correct length.
Step 6
Decrease toward the toe.
Step 7
Close the toe.
Step 8
Work upward around the ankle.
Step 9
Add the cuff.
Step 10
Weave in every end.
Step 11
Make the second sock.
Step 12
Measure both socks before gifting them.
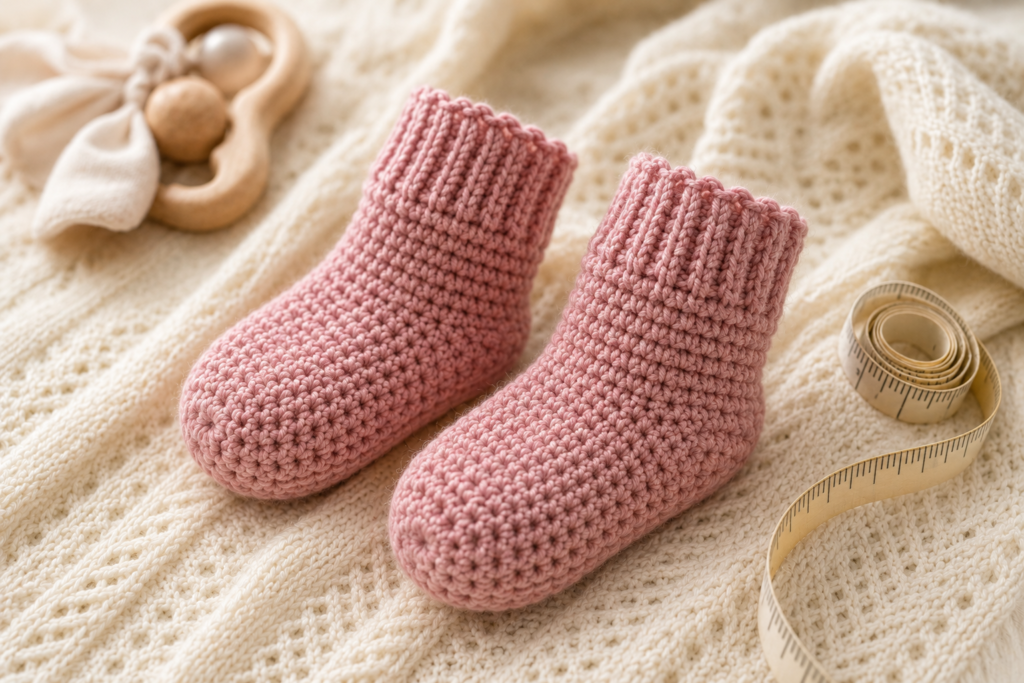
How to Adjust the Size
The easiest way to modify baby socks is to adjust length and width separately.
To make the sock longer
Add additional plain rows to the foot before beginning the toe decreases.
To make it shorter
Begin the toe shaping earlier.
To make it wider
Use a slightly longer foundation chain and maintain the same shaping principle.
To make it narrower
Use fewer foundation stitches.
Size Adjustment Table
| Need | Adjustment |
|---|---|
| Longer foot | Add plain rows |
| Shorter foot | Remove plain rows |
| Wider foot | Add foundation stitches |
| Narrower foot | Reduce foundation stitches |
| Taller cuff | Add cuff rows |
| Shorter cuff | Reduce cuff rows |
Always make a small test piece first when changing the dimensions substantially.
Color Ideas for Baby Crochet Socks
These socks don’t have to be pink or blue.
Try:
| Style | Colors |
|---|---|
| Soft classic | Cream + beige |
| Floral | Blush + cream |
| Sage nursery | Sage + ivory |
| Neutral | Oatmeal + taupe |
| Pastel | Lavender + pale yellow |
| Coastal | Powder blue + white |
| Woodland | Sage + brown |
| Rainbow | Cream + pastel stripes |
A simple neutral sock with a contrasting cuff can look particularly polished.
Simple Stripe Variation
You can introduce color without changing the construction.
For example:
Rounds 1–4: Cream
Rounds 5–8: Dusty pink
Cuff: Cream
Or:
Foot: One solid color
Ankle: Contrasting color
Cuff: Main color
This is an easy way to make several pairs that look different while using the same basic pattern.
Common Problems and Fixes
My sock is too stiff
Your hook may be too small or your tension too tight.
Try:
- A slightly larger hook
- Softer yarn
- Looser tension
My sock is too loose
Your stitches may be too loose.
Try a smaller hook or slightly tighter tension.
The heel doesn’t curve correctly
Check your decreases.
Heel shaping depends on reducing the correct number of stitches in the correct area.
The toe looks pointed
You may have decreased too quickly.
Add a plain round between decreases to create a softer, more rounded toe.
The cuff is too tight
Don’t make the cuff significantly smaller than the ankle opening.
The cuff should sit securely without digging into the baby’s skin.
The sock keeps slipping off
A very loose cuff can cause this.
Try:
- Adding a few cuff rows
- Using a ribbed cuff
- Checking the ankle circumference
Avoid adding strings or loose ties around a baby’s ankle.
Baby Sock Safety and Fit
Baby accessories require a little more attention to construction than adult accessories.
Avoid loose decorations
Do not add:
- Loose buttons
- Beads
- Small charms
- Detachable appliqués
- Long decorative cords
These can become hazards for babies.
Check the fit
The sock should be:
- Comfortable
- Flexible
- Not restrictive
- Not excessively loose
- Free of rough seams
Check regularly
Babies grow quickly.
A sock that fits one week may become too small soon afterward.
Look for:
- Marks around the ankle
- Tight fabric across the toes
- Difficulty putting the sock on
- Redness after wearing
If it appears too tight, stop using it and make a larger size.
These handmade socks are best treated as clothing accessories, not as a substitute for footwear or protective equipment.
Care Instructions
Always follow the yarn manufacturer’s washing instructions.
For many washable baby yarns:
- Wash gently.
- Use mild detergent.
- Avoid harsh bleach.
- Reshape while damp.
- Allow to dry completely.
- Store clean and dry.
If the socks are intended as a baby gift, including a small care note is a thoughtful finishing touch.
How to Turn These Into a Baby Gift
A handmade pair of socks becomes even more special when presented as part of a small gift set.
You could combine them with:
- A handmade baby hat
- Crochet baby booties
- A soft baby blanket
- A handmade bib
- A neutral baby cardigan
- A small gift card
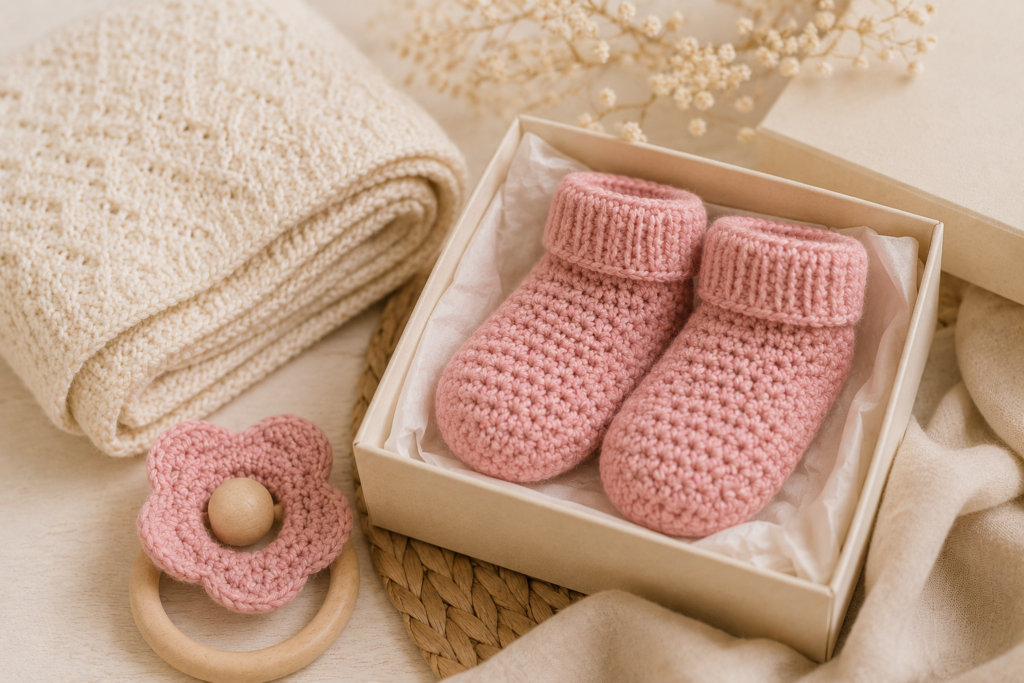
For presentation, fold the pair together and wrap them in tissue paper or place them inside a small gift box.
Choose soft neutral packaging if you want a more elegant look.
Beginner Tips for Better Results
Count your stitches
Don’t rely on appearance alone.
After every shaping row, count your stitches.
Use a stitch marker
If you’re working in rounds, mark the beginning of every round.
Measure instead of guessing
Baby sizes vary.
Use the baby’s actual foot length whenever possible.
Make the first sock carefully
The second sock should then be much faster because you’ve already established the construction.
Keep notes
Write down:
- Hook size
- Yarn
- Number of rows
- Number of stitches
- Adjustments
That makes it much easier to reproduce the same size.
Frequently Asked Questions
Is this crochet baby sock pattern beginner-friendly?
Yes. The project mainly uses single crochet, increases and decreases. The heel and toe require a little more attention, but the construction is manageable for someone who already knows basic crochet stitches.
What yarn is best for crochet baby socks?
Choose a soft, washable yarn suitable for baby garments. Lightweight acrylic and cotton blends are practical options.
What hook size should I use?
A 3–3.5 mm hook is a useful starting point for lightweight yarn, but the correct size depends on your yarn and tension.
How do I know what size to make?
The baby’s actual foot measurement is more reliable than age alone. Measure from the heel to the longest toe and compare it with your finished sock.
Can I make these socks larger?
Yes. Add stitches for width and additional rows for length, but test your modifications before making the full pair.
Can I use cotton yarn?
Yes, particularly a soft cotton blend. Keep in mind that cotton generally has less elasticity than acrylic or wool blends.
How long does it take to crochet baby socks?
For an experienced crocheter, a pair can be relatively quick. Beginners may need more time while learning the heel and toe construction.
Why does my crochet sock keep slipping off?
The ankle or cuff may be too loose. A ribbed cuff can improve the fit, but it should never be tight enough to leave deep marks.
Affiliate Disclosure
Affiliate Disclosure: This post may contain affiliate links. If you purchase something through one of these links, we may earn a small commission at no additional cost to you. We only recommend products that we believe can be useful for your crochet projects. Thank you for supporting our content.
Related Crochet Posts
If you’re building a baby crochet section on your website, these are natural internal links to place around this article:
Baby Crochet Patterns
Link to your broader collection of handmade baby crochet projects.
Baby Crochet Booties
A natural next project for anyone who enjoys making tiny crochet footwear.
Crochet Baby Hats
Pair a handmade baby hat with these socks to create a coordinated gift.
Daisy Mini Plush Crochet Pattern
A small beginner-friendly project for readers who enjoy cute crochet designs.
Free Granny Square Crochet Patterns
A good recommendation for readers who want to move from small projects to blankets and larger crochet creations.
Quick Crochet Baby Socks Checklist
Before you start:
- Choose soft baby-friendly yarn
- Check the yarn label
- Choose the appropriate hook
- Measure the baby’s foot if possible
- Make a small gauge sample
- Crochet the first sock
- Check the fit
- Record any size adjustments
- Make the second sock
- Check both socks for matching dimensions
- Weave in all yarn ends securely
- Inspect the finished pair for loose components
- Wash according to the yarn label
- Store or gift when completely dry
Final Thoughts
These crochet baby socks are a great little project when you want to practice shaping without committing to a large piece of crochet.
The basic construction is simple: build the foot, shape the heel, continue toward the ankle, close the toe, and finish with a comfortable cuff.
Once you’ve made your first pair, you can experiment with different yarn weights, colors, cuff styles and lengths. A simple cream-and-pink pair can become a delicate baby-shower gift, while sage, oatmeal or soft blue can create a more neutral look.
Most importantly, measure before making multiple pairs. Baby feet grow quickly, and handmade crochet fabric can vary considerably depending on yarn and tension.
Start with one pair, make careful notes about your stitch counts and measurements, and you’ll have a repeatable little pattern that can be adapted for different babies and occasions.







