
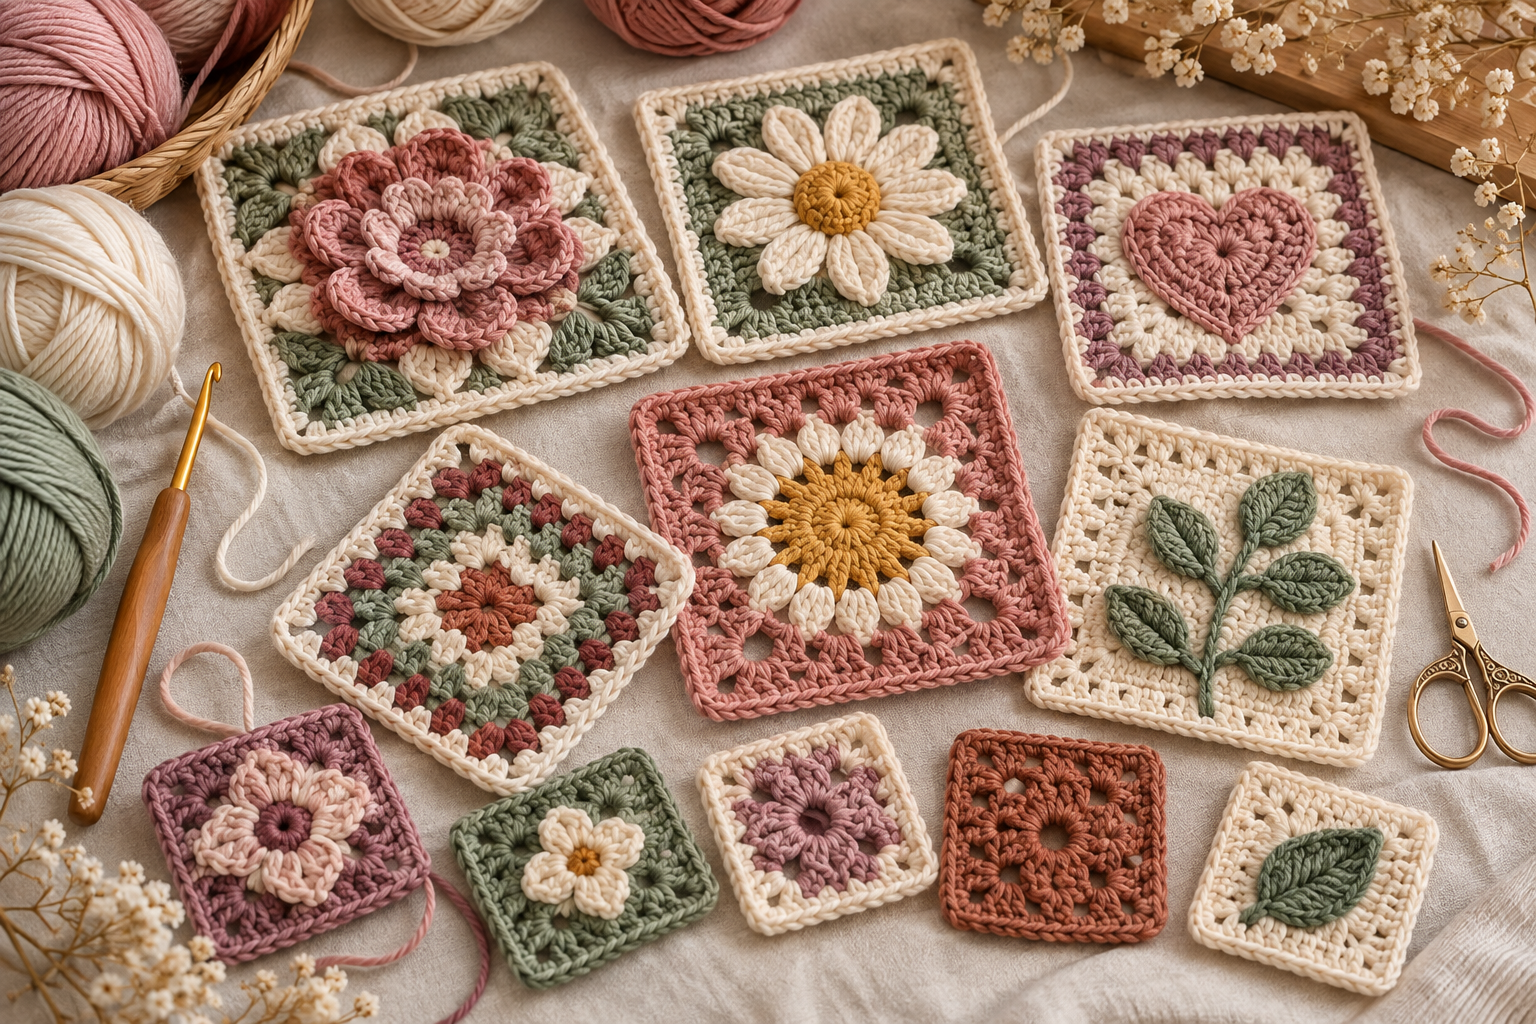
Crochet motifs are one of the easiest ways to turn simple stitches into something that feels completely custom. A small motif can become a granny square, coaster, blanket panel, bag, pillow, cardigan detail, baby accessory, or even a decorative wall piece.
The inspiration image features a square floral-style motif built from a circular center, petal-like stitches, contrasting rounds, and a neat square border. Rather than copying that specific design, the patterns below give you 25 original motif ideas you can use as building blocks for your own crochet projects.
What Is a Crochet Motif?
A crochet motif is a small decorative piece that can be worked independently and then used alone or joined with other motifs.
Common examples include:
- Granny squares
- Floral squares
- Hexagons
- Circles
- Hearts
- Stars
- Leaves
- Diamonds
- Geometric blocks
- Small appliqués
The biggest advantage is flexibility. You can make several identical motifs, change the colors between each one, and combine them into a much larger project.
For example, a 10 cm square motif can become:
| Number of motifs | Possible project |
|---|---|
| 4 | Mug rug or small cushion |
| 6–8 | Small bag |
| 12–20 | Baby blanket |
| 24–40 | Cushion or throw |
| 50–80+ | Large blanket |
| 80+ | Bedspread |
The exact number depends on your finished motif size and the dimensions you want.
Basic Materials
For most of these motifs, you don’t need a large collection of supplies.
| Material | Recommended option |
|---|---|
| Yarn | DK, worsted, or aran |
| Crochet hook | 4–5 mm for medium yarn |
| Scissors | Small sharp scissors |
| Tapestry needle | For weaving in ends |
| Stitch markers | Helpful for beginners |
| Measuring tape | Useful for checking size |
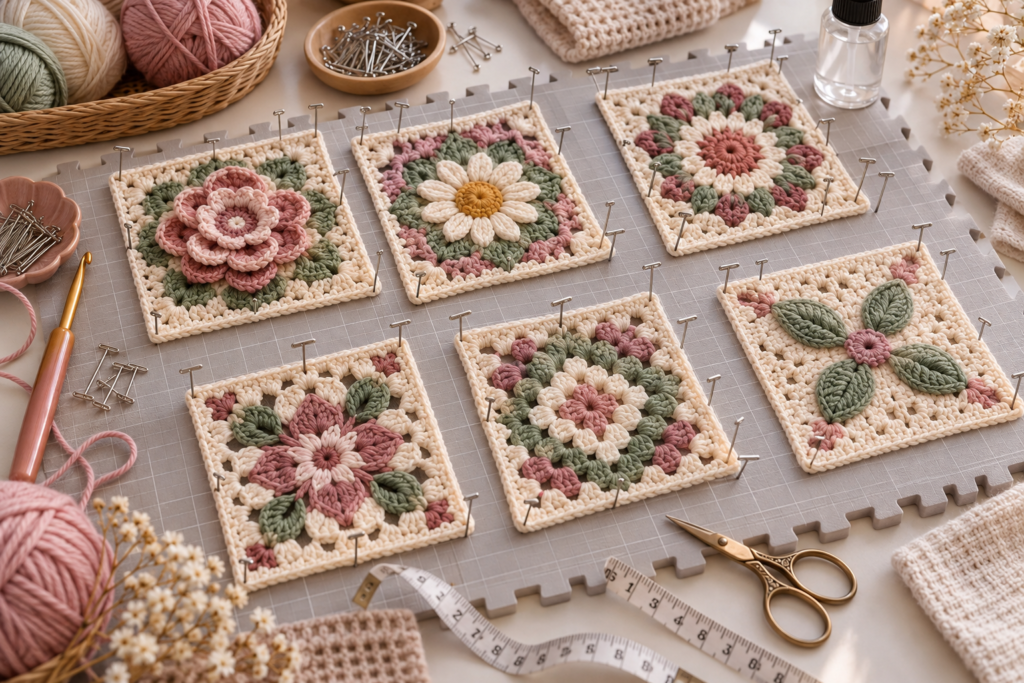
| Blocking mat | Optional but useful |
| Pins | Optional for blocking |
For a delicate baby project, choose a soft washable yarn. For bags, baskets, and home décor, cotton is particularly useful because it gives motifs good stitch definition.
Crochet Abbreviations
The patterns below use common US crochet terminology.
| Abbreviation | Meaning |
|---|---|
| ch | Chain |
| sl st | Slip stitch |
| sc | Single crochet |
| hdc | Half double crochet |
| dc | Double crochet |
| tr | Treble crochet |
| st | Stitch |
| sts | Stitches |
| sp | Space |
| sk | Skip |
| rep | Repeat |
| BLO | Back loop only |
| FLO | Front loop only |
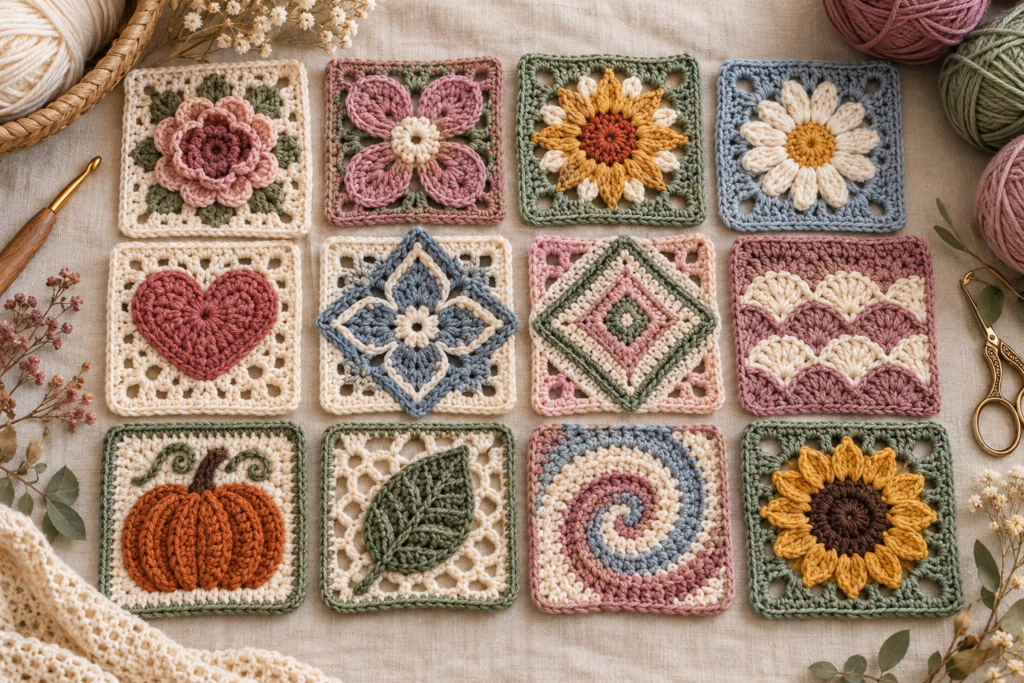
How to Choose Yarn for Motifs
Color has a huge impact on the appearance of a motif.
For a soft vintage look, try:
Cream + dusty pink + sage + muted mauve
For a modern neutral palette:
Ivory + taupe + oatmeal + charcoal
For a cheerful project:
Butter yellow + coral + pink + turquoise
For autumn:
Rust + pumpkin + cream + olive
For a baby blanket:
Baby blue + ivory + sage
One useful rule is to keep the outer border darker or more neutral than the center. This visually connects individual motifs when they are joined together.
25 Crochet Motif Ideas
1. Classic Floral Granny Square
This is the closest concept to the floral-style square shown in the inspiration image: a small circular flower in the center surrounded by several square-building rounds.
Pattern
Round 1:
Make a magic ring. Work 8 sc into the ring. Join with a sl st.
Round 2:
Ch 2. Work 2 dc into each stitch around. Join.
Round 3:
Create the petals by working groups of dc stitches separated by small chain spaces.
Round 4:
Work sc around the petal groups to stabilize the flower.
Round 5:
Begin forming the square by working groups of dc into the spaces between the petals.
Round 6:
Continue building the corners with groups of stitches separated by chain spaces.
Final round:
Work sc around the entire square for a clean border.
Color idea
Try:
- Dusty rose center
- Cream petals
- Sage green middle
- Blush pink border
This combination works particularly well for blankets and cushions.
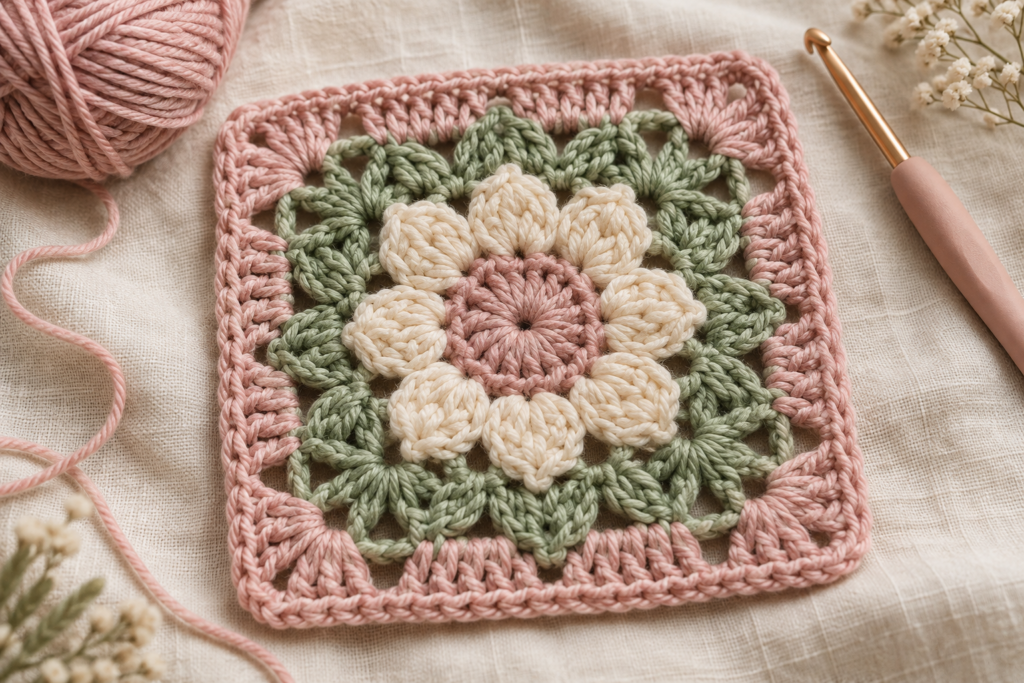
2. Four-Petal Flower Motif
This design is ideal when you want something simpler than a traditional granny square.
Pattern
Start with a magic ring.
Round 1: 8 sc into the ring.
Round 2: Work 2 dc in every stitch.
Round 3: Create four larger petals by working clusters of dc stitches separated by chains.
Round 4: Surround the petals with sc.
You can leave this motif circular or continue with four corner increases to transform it into a square.
Best projects
- Baby blankets
- Cardigans
- Tote bags
- Pillow covers
3. Eight-Petal Flower
For a fuller floral effect, increase the number of petals.
Use a center of approximately 8 stitches, then create eight evenly spaced petal groups.
The important part is maintaining equal spacing.
Tip: Place stitch markers at the beginning of each petal section. This makes the second and third rounds much easier to follow.
4. Sunburst Motif
A sunburst motif uses clusters radiating outward from the center.
Basic structure
- Circular center
- Puff or cluster round
- Second cluster round
- Square conversion
- Border
The raised stitches create texture and make the center look almost three-dimensional.
This is particularly beautiful when the center is a contrasting color.
5. Daisy Granny Square
Make a small white or cream flower surrounded by a bright yellow center.
Then use green or another contrasting shade for the square.
Suggested palette
| Part | Color |
|---|---|
| Center | Golden yellow |
| Petals | Cream |
| Middle | Soft green |
| Border | Ivory |
Daisy squares are excellent for spring blankets, bags and cottage-style accessories.
6. Rose Motif
Instead of making flat petals, create slightly overlapping rounds.
The trick is to work the first petal layer tightly and make subsequent petals slightly larger.
This produces a dimensional rose effect.
Use pink, burgundy, peach, cream, or dusty rose.
7. Heart Granny Square
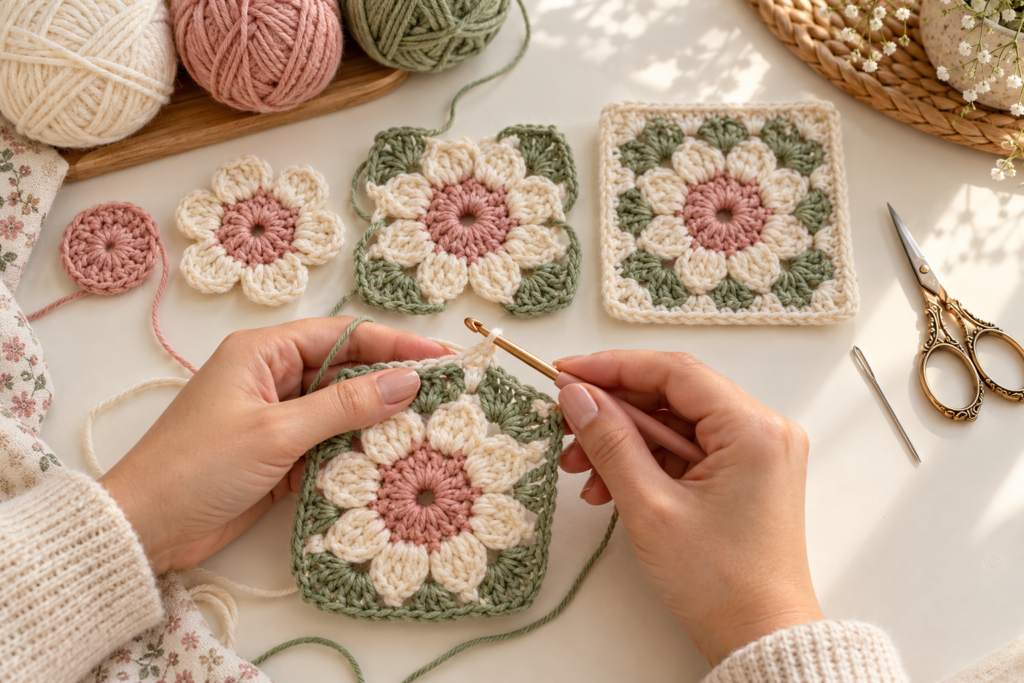
Start with a small heart in the center and gradually build outward into a square.
This makes a lovely Valentine’s Day or romantic home décor motif.
Good uses
- Baby blankets
- Valentine’s blankets
- Cushion covers
- Gift bags
- Cardigans
8. Star Motif
A five-point star can be created in the center of a square.
Use increases strategically around five points to create the star shape.
For a holiday project, try:
Cream + red + forest green
For a celestial project:
Navy + silver + cream
9. Daisy Center Square
This variation keeps the flower center relatively small and gives more visual space to the surrounding square.
It is particularly useful when you want a blanket with a calmer appearance.
10. Puff Stitch Flower
Puff stitches are perfect for motifs because they create noticeable dimension without complicated shaping.
A basic puff can be created by repeatedly drawing loops through the same stitch before pulling them together.
Keep your tension consistent.
If the puffs become too tight, the center may curl.
11. Bobble Flower
Bobble stitches create stronger texture than standard clusters.
Use bobbles for the petals and simple stitches for the surrounding square.
This creates a tactile motif that works particularly well for:
- Baby blankets
- Sensory blankets
- Decorative cushions
12. Tulip Motif
Create three sections:
Center → flower → square border
Use pink, red, yellow, or purple for the tulip and green for the surrounding details.
For a spring blanket, alternate tulip colors between motifs.
13. Leaf Motif
Leaf motifs are excellent between floral squares.
A simple leaf can be worked with chains and strategically placed increases and decreases.
Use two shades of green for a more natural appearance.
14. Geometric Diamond Square
If flowers aren’t your style, use increases and decreases to create diamonds.
Try:
Cream + sage + rust
The result is more modern and works beautifully for blankets, sweaters and bags.
15. Checkerboard Motif
Alternate two colors across rows.
You can create the checker effect using:
- Color A
- Color B
- Color A
- Color B
Carry the unused yarn carefully or fasten it off when appropriate.
This design is particularly useful for modern crochet décor.
16. Spiral Center Motif
Begin with a circular spiral and gradually convert it into a square.
A spiral works especially well when using two contrasting colors.
Important tip
Change colors before completing the final pull-through of the stitch if you want a cleaner transition.
17. Shell Stitch Square
Shells create a scalloped texture.
A simple shell can be formed by placing several dc stitches into the same space.
Use shells around the outside of the motif rather than in every round if you want a cleaner appearance.
18. Vintage Lace Motif
Use thinner yarn and a smaller hook to create a delicate motif.
Good colors include:
- Antique white
- Beige
- Dusty pink
- Pale blue
These motifs work beautifully for table runners, decorative cushions and delicate blankets.
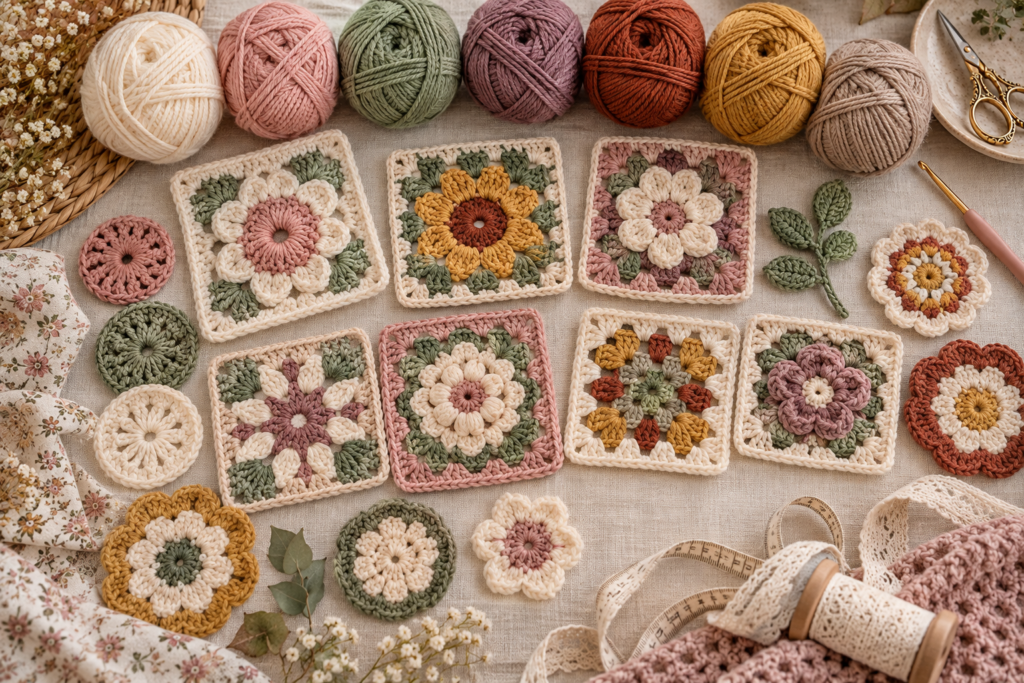
19. Granny Flower Wheel
Instead of placing one large flower in the center, create a ring of smaller petal clusters.
This gives the motif a wheel-like appearance.
Use three colors for a more detailed result.
20. Sunflower Square
Use:
Brown center + golden petals + green border
A sunflower square is particularly suitable for autumn blankets, tote bags and kitchen décor.
21. Snowflake Motif
Use chains and open spaces to create a lightweight snowflake.
White yarn is the obvious choice, but silver-gray and pale blue can also look beautiful.
22. Pumpkin Motif
Create a small orange pumpkin in the center of the square.
Add a green stem and then surround it with a neutral border.
This is ideal for fall and Halloween projects.
23. Mushroom Motif
Create a rounded mushroom cap with a small stem.
Use:
Rust + cream + sage
This gives the motif a cozy woodland aesthetic.
24. Checker Flower Square
Combine a small floral center with a geometric outer section.
This is useful when you want a motif that looks decorative but isn’t overwhelmingly floral.
25. Four-Corner Floral Square
Instead of one central flower, place a small floral element near each corner.
This creates a more open design and works especially well when joining motifs together.
A Detailed Floral Granny Square Tutorial
If you’re looking for one motif to start with, this is a versatile option.
Materials
- Medium-weight yarn
- 4–5 mm crochet hook
- Scissors
- Tapestry needle
- Stitch marker
Suggested colors
Use four colors:
Color A: center
Color B: petals
Color C: middle round
Color D: border
For example:
Dusty pink → cream → sage → soft pink
Step 1: Make the Center
Make a magic ring.
Chain 2.
Work 8 sc into the ring.
Pull the ring closed.
Slip stitch into the first sc.
You should now have a compact circular center.
Step 2: Create the Petals
Attach Color B.
Work groups of stitches into the spaces around the center.
For example, you can use:
3 dc + ch 1
in each designated space.
Continue around the circle.
The groups should form approximately four to eight visible petals depending on the structure you choose.
Step 3: Define the Petals
Work sc around the petal groups.
This separates the petals visually.
Don’t pull the stitches excessively tight.
Step 4: Start the Square
Attach Color C.
Find four evenly spaced areas where you want your corners.
Work a corner cluster such as:
3 dc, ch 2, 3 dc
into each corner space.
Between corners, work your chosen side stitches.
This begins converting the circular flower into a square.
Step 5: Build the Sides
Continue working around the square.
At every corner:
3 dc, ch 2, 3 dc
The corner chain space is important because it provides room for the next round of growth.
Step 6: Add the Border
Attach Color D.
Work sc around the entire motif.
At each corner, place:
sc, ch 1, sc
or another small corner increase appropriate to your stitch count.
This produces a neat final edge.
How to Prevent Your Motif From Curling
Curling is one of the most common problems beginners encounter.
If the center curls upward
Your stitches may be too tight.
Try:
- Using a larger hook
- Relaxing your tension
- Adding slightly more spacing
If the motif becomes wavy
You may have too many increases.
Check the stitch count of each round.
If the corners don’t lie flat
Make sure each corner receives the same number of stitches.
For granny-style corners, a consistent corner structure is essential.
How to Make Every Motif the Same Size
Consistency matters enormously when making blankets.
Make your first motif carefully and measure it.
For example:
Finished motif = 10 cm × 10 cm
Every subsequent motif should be close to that measurement.
If your second motif measures 11 cm, don’t ignore the difference.
After joining 30–40 motifs, small differences can become very noticeable.
A useful consistency checklist
Before making a large batch:
- Check your hook size.
- Check yarn weight.
- Check your tension.
- Count stitches.
- Measure the finished motif.
- Block one sample.
- Measure it again.
Only then make the remaining motifs.
How to Block Crochet Motifs
Blocking is especially useful for granny squares.
Step 1
Lightly dampen the finished motif.
Step 2
Place it on a blocking mat.
Step 3
Gently stretch the corners until the square becomes symmetrical.
Step 4
Pin the four corners.
Step 5
Allow it to dry completely.
Don’t aggressively stretch the fabric. The objective is to correct the shape, not dramatically change the size.
How to Join Crochet Motifs
Once you’ve made enough squares, you have several options.
Slip-Stitch Join
This creates a relatively subtle seam.
Good for:
- Blankets
- Cushion covers
- Bags
Single-Crochet Join
This creates a more visible ridge.
It can be used intentionally as a design element.
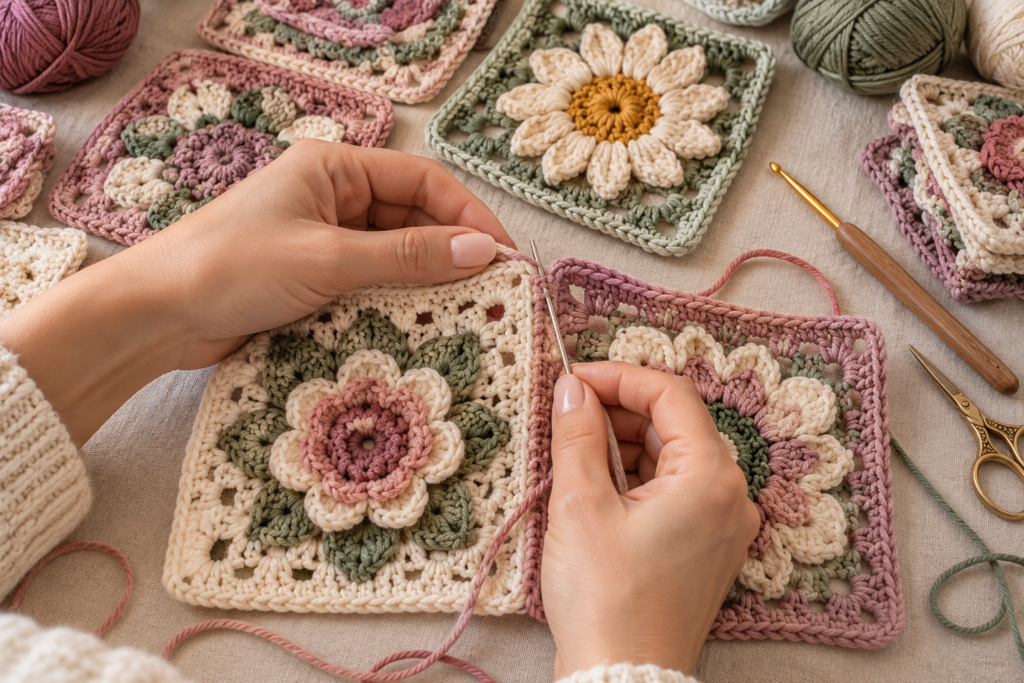
Whip Stitch
Sew the motifs together from the back using a tapestry needle.
This method gives you excellent control.
Join-As-You-Go
Join each motif while crocheting the final round.
This can save time because you don’t have to assemble the entire project afterward.
Planning a Crochet Blanket
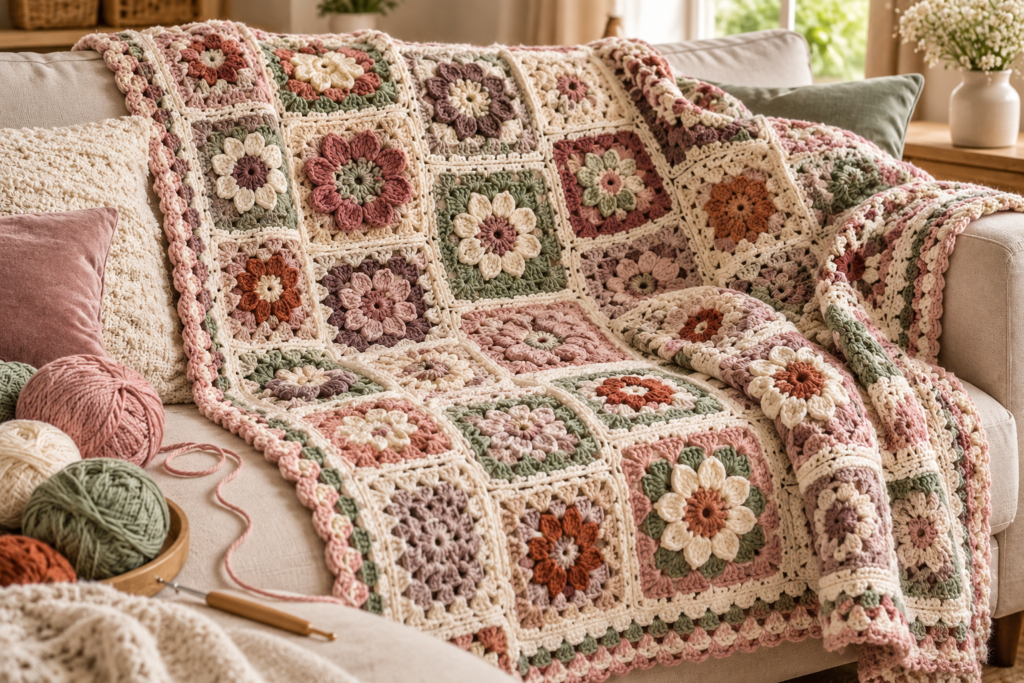
Suppose your motif measures 10 cm × 10 cm after blocking.
| Layout | Approximate dimensions |
|---|---|
| 4 × 4 | 40 × 40 cm |
| 5 × 6 | 50 × 60 cm |
| 6 × 8 | 60 × 80 cm |
| 8 × 10 | 80 × 100 cm |
| 10 × 12 | 100 × 120 cm |
Your actual finished size will depend on your joining method and border.
Before Making 50 Motifs
Make only three or four samples first.
Arrange them next to each other.
Look at:
- Color balance
- Stitch definition
- Motif size
- Border color
- Overall visual rhythm
This can save a huge amount of yarn and time.
How to Arrange Different Motifs
You don’t have to use 25 completely different motifs.
A more cohesive blanket can use:
70% main motif
20% secondary motif
10% accent motif
For example:
- 35 floral squares
- 10 leaf squares
- 5 heart squares
The repeated main motif keeps the blanket visually consistent.
Crochet Motif Color Formula
If you’re struggling with color combinations, try the 60–30–10 rule.
| Percentage | Use |
|---|---|
| 60% | Main neutral |
| 30% | Secondary color |
| 10% | Accent |
Example:
60% cream + 30% sage + 10% dusty pink
This keeps the finished project balanced rather than overly busy.
Turning One Motif Into Different Projects
The same square can become many things.
4 motifs
Make a small:
- Cushion
- Coaster set
- Mini wall hanging
8 motifs
Try:
- Small tote
- Baby bib
- Small pouch
12 motifs
Create:
- Baby blanket
- Large bag
- Pillow cover
20+ motifs
Consider:
- Large blanket
- Throw
- Cardigan panels
- Bedspread
Beginner Mistakes to Avoid
Mistake 1: Changing Hook Sizes
Don’t randomly switch hooks halfway through a project.
It can change the size of the motif dramatically.
Mistake 2: Ignoring Gauge
For clothing, gauge is particularly important.
A beautiful motif won’t automatically create a well-fitting garment.
Mistake 3: Pulling Corner Chains Too Tight
The corners need room to expand.
If the chain spaces are too tight, your square may curl.
Mistake 4: Joining Before Blocking
If you’re making a blanket, blocking your motifs before joining can produce a much cleaner result.
Mistake 5: Leaving Ends Until the Very End
Weave in ends as you go.
Finishing 50–100 loose ends at the end can quickly become the least enjoyable part of the project.
Easy Ways to Customize Any Motif
You can make almost any motif your own by changing five things:
1. Yarn weight
Thicker yarn = larger motif.
2. Hook size
Larger hook = generally larger and more open fabric.
3. Number of rounds
More rounds = larger motif.
4. Border
A contrasting border can completely change the appearance.
5. Color placement
The same stitch pattern can look completely different when the colors are rearranged.
A Simple Motif Project for Beginners
If you’re new to crochet motifs, start with six identical floral squares.
Make:
- 6 motifs
- Block them
- Arrange them 2 × 3
- Join them
- Add a simple border
This can become a small decorative panel or cushion front.
Once you’re comfortable, increase the number of motifs.
Final Tips for Better Crochet Motifs
The most important thing isn’t complicated stitches. It’s consistency.
Keep your tension even.
Count your stitches.
Make your corners symmetrical.
Change colors neatly.
Block your motifs before joining.
And most importantly, make a test motif before committing to a large project.
A simple floral square can become the foundation for a blanket, bag, cardigan, pillow, baby project, or home décor piece. Once you understand how the center, increases, corners, and border work together, you can begin designing your own motifs rather than simply following existing patterns.
Save this guide for your next crochet project and experiment with different colors, borders, and motif combinations to create something completely your own.







